HOBBY TUTORIAL: Painting Bronze Like a Pro

VMC Mahogany Sand
VMC Gunship Green
VMC Bluegreen
GW Tin Bitz
GW Devlan Mud
GW Thraka Green

2: Next, I give the area a good wash of GW Devlan Mud.
3: I then go back with a lighter wash of GW Thraka Green. The impact is very subtle, and mainly only serves to remove some of the redishness of the colors in the first step.
4: I start the weathering process with a wash of VMC Gunship Green. This is simply 4 parts water to 1 drop of paint. This wash goes on pretty heavy, and I quickly go back in with a clean brush and soak up some of the wash, unless I’m looking to make a particularly heavy verdigris effect.
5: I then add a drop of VMC Bluegreen to my Gunship Green wash, and use that to more carefully add heavier verdigris to deeper areas, or places that would retain more moisture and result in greater oxidation. Adding more drops of Bluegreen will give you brighter oxidation, but I have a lot of blue OSL in my army due to my love of plasma weapons, so I’ve toned my verdigris back to avoid the “glowy” look that it can take on (causing the verdigris to look more like misplaced OSL)
6: Finally, we’ll go in and edge a few places with pure Brassy Brass. This gives the final finished look to the metal, and should focus on areas that might suffer wear, rubbing away any oxidation that might try to take hold over time.
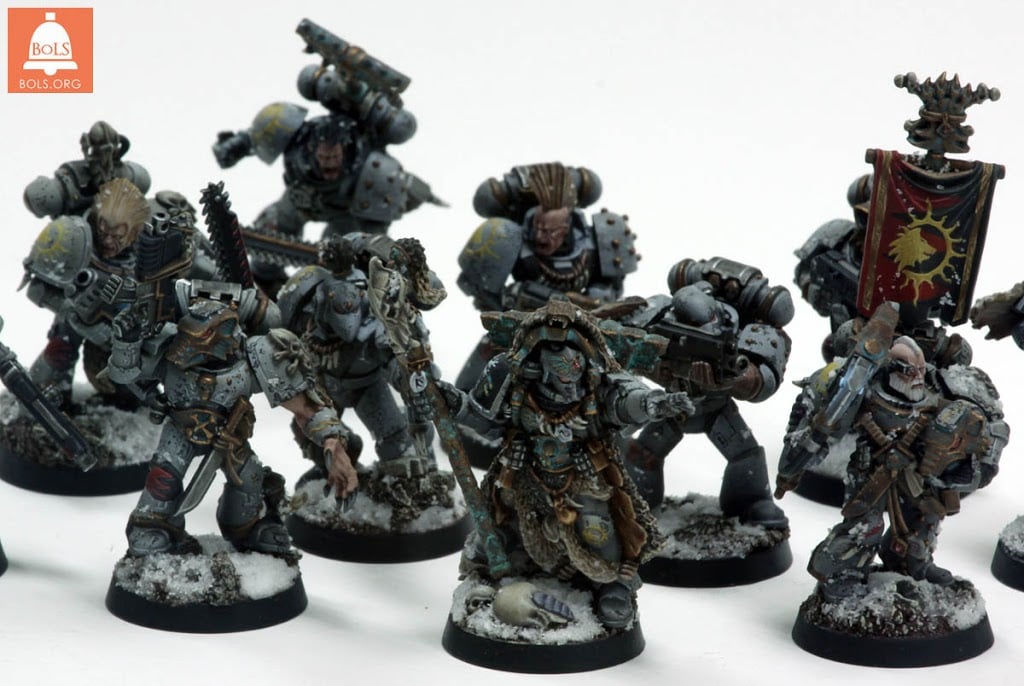
And that’s all there is to it! You can play around with it and make the verdigris heavier, if you wish, by adding a bit of ivory to your mix and going even deeper into the recesses, but be warned: it will very quickly start to look like a glow effect and is easily picked up by the eye with the contrast against the bronze metal.
~Brandon wishing you happy painting!
