Bolt Action! Kitbashing History with M8 Greyhound
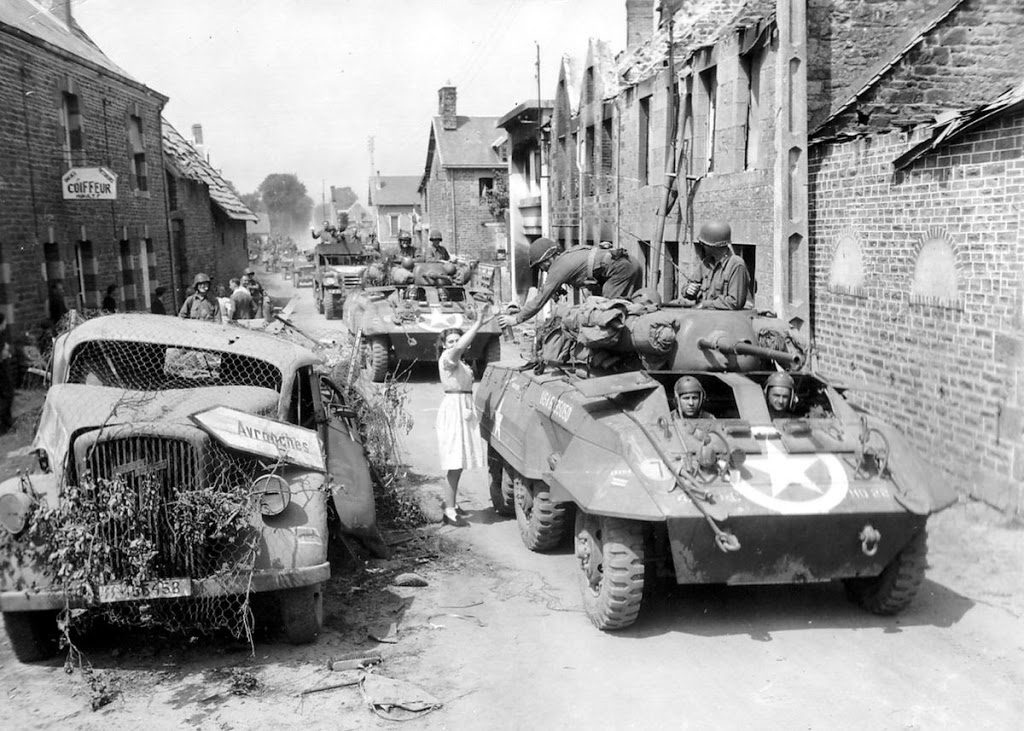
The image above sports an M8 Greyhound in action in the late stages of WW2. As a vehicle in Bolt Action, the Greyhound is fast vehicle, with high maneuverability and just enough armour to withstand some moderate fire. So I had to build one!
Playing Bolt Action means learning about History!
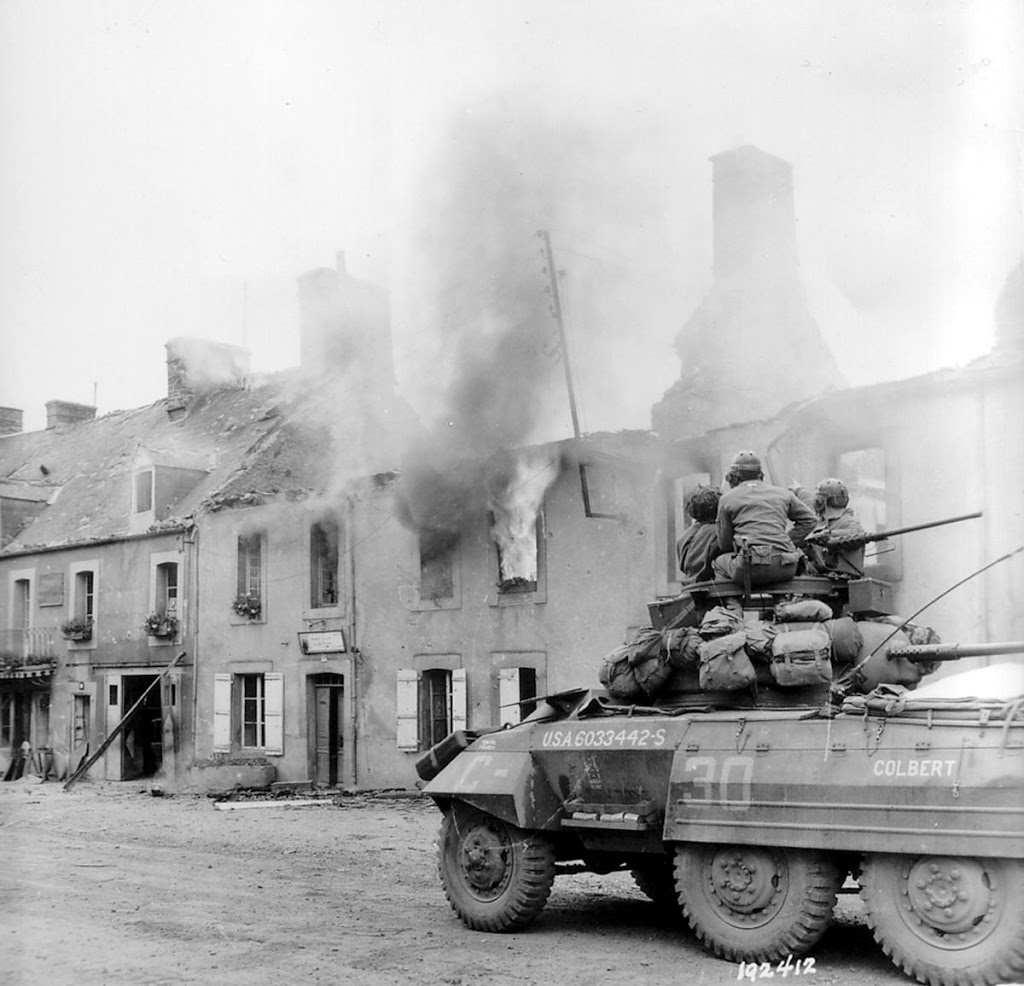
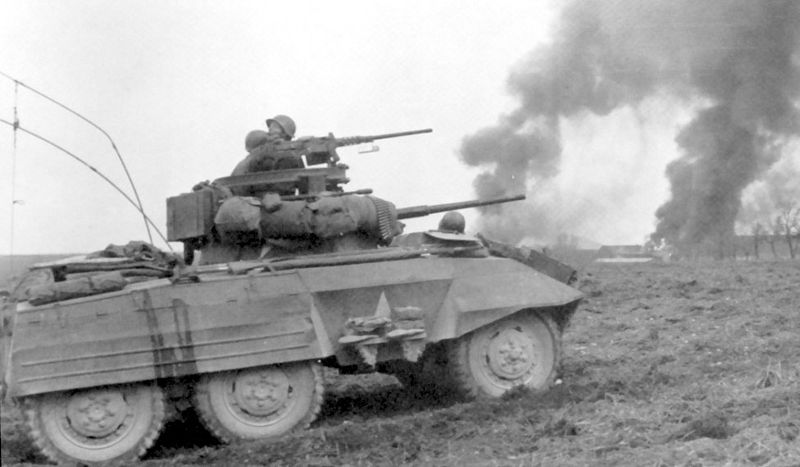
Thousands of M8’s were built and used during WW2, by the British and by the Americans. Here’s a good shot of one in action, showing off flexibility in the field.
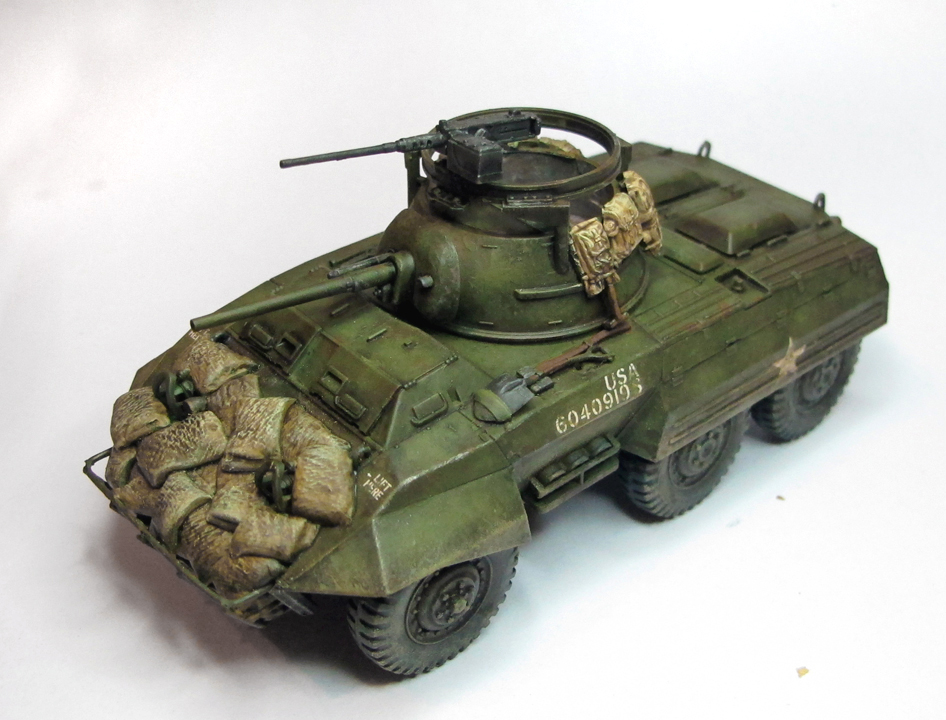
I wanted to build a model with plenty of visual character and I had my mind set on adding sandbags to the front. The crews in the front of the Greyhound were vulnerable; the armor on the front and bottom was woefully thin. I read that many crews put sandbags on the bottom of the vehicle for extra protection from mines..
Anyway, on Google I could not find Greyhounds with sandbags on it and I was about to give up when I found this image
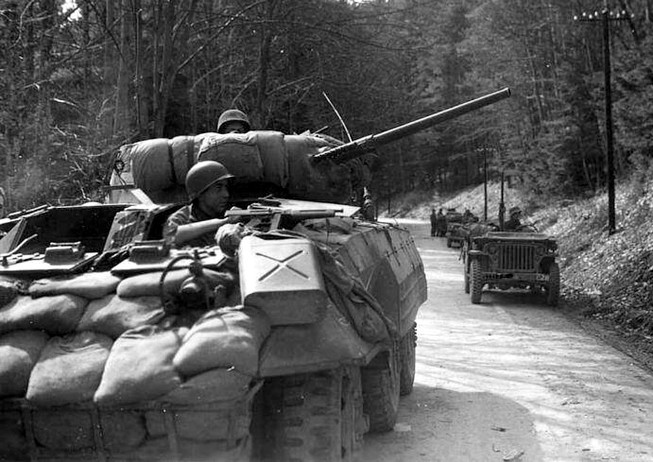
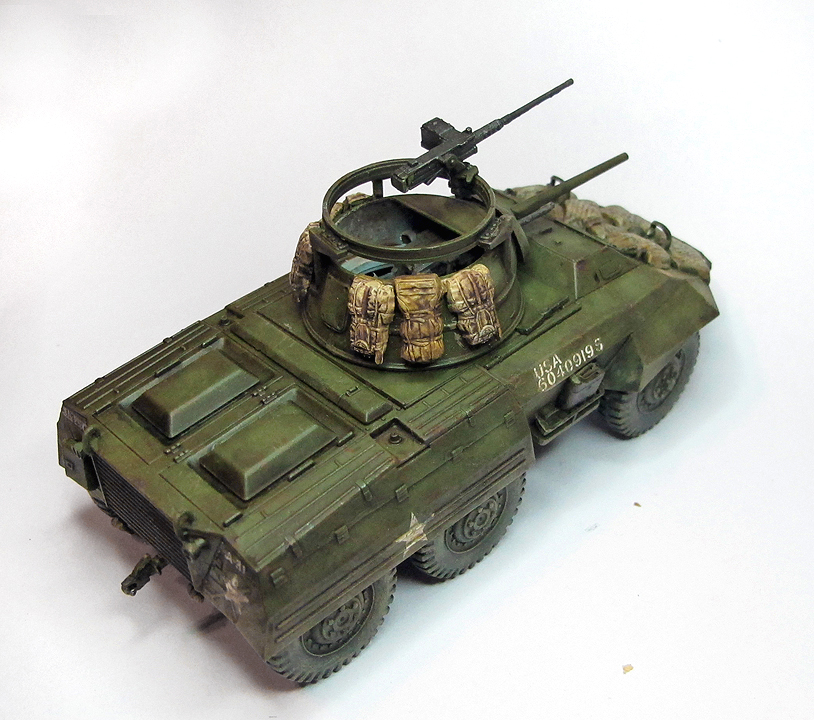
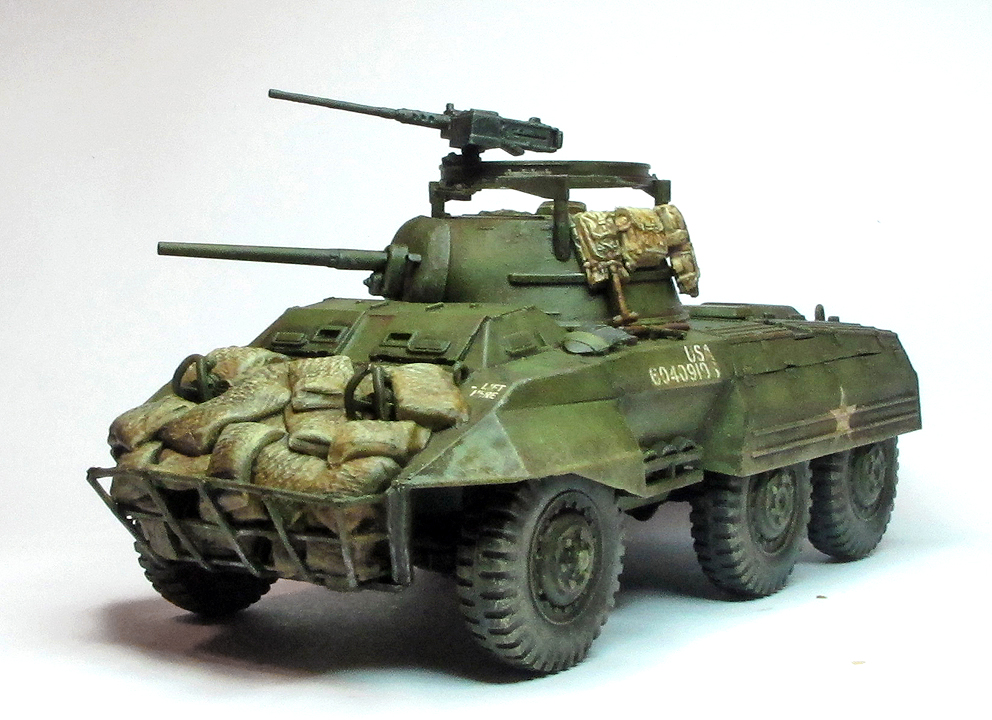
on this site called Warwheels. I was so happy to find it! These images don’t seem to show up on Google and the site has an amazing bunch of links to obscure but very detailed and cool military model sites. Anyway, I realized that is what I wanted to build…and here’s the result; a Tamiya 1/48 scale model:
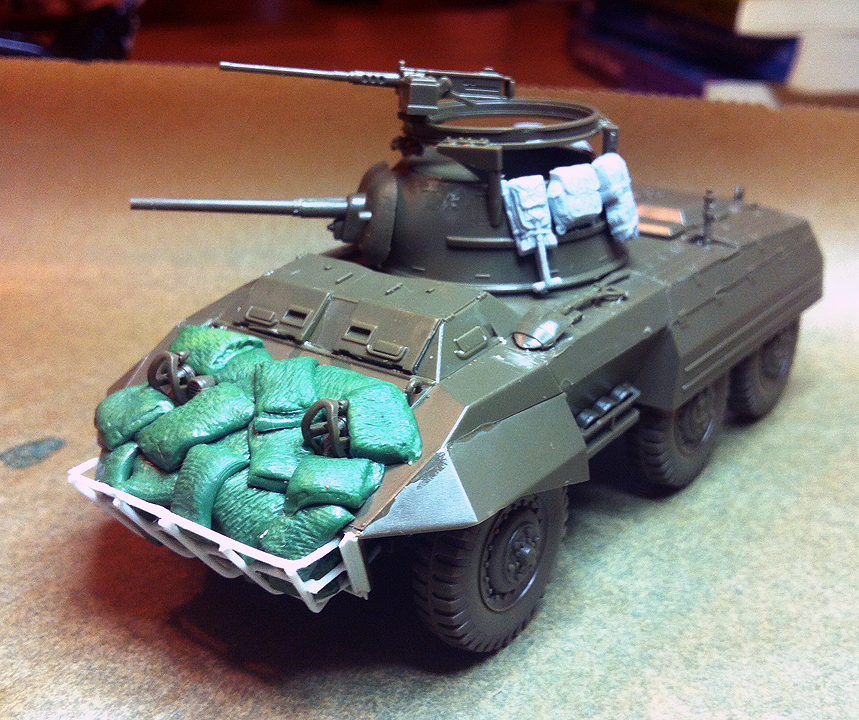
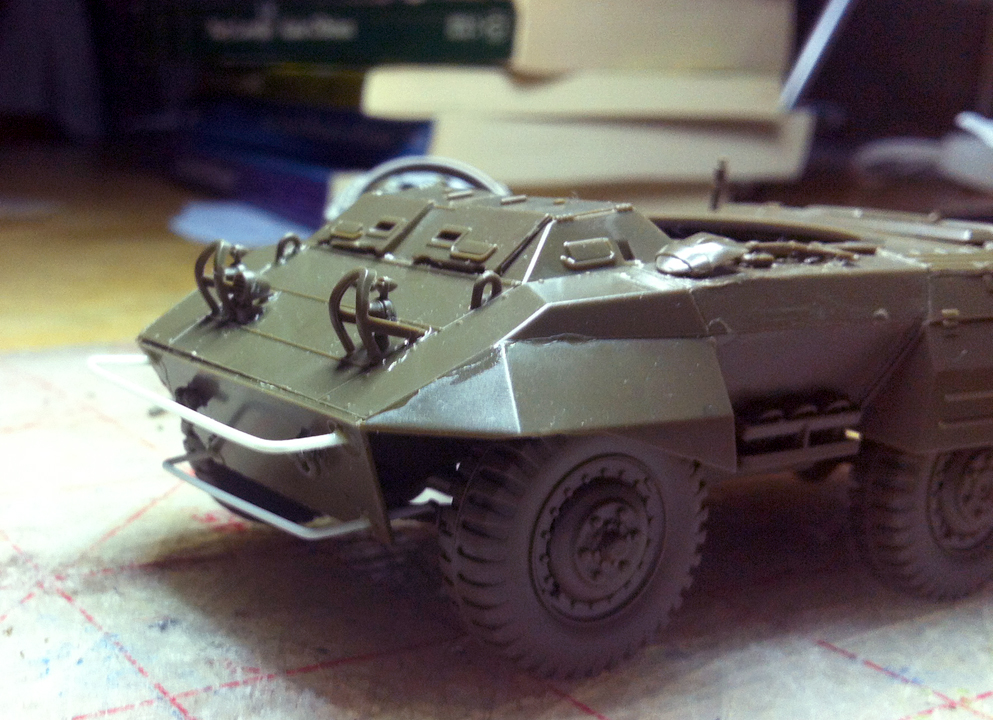
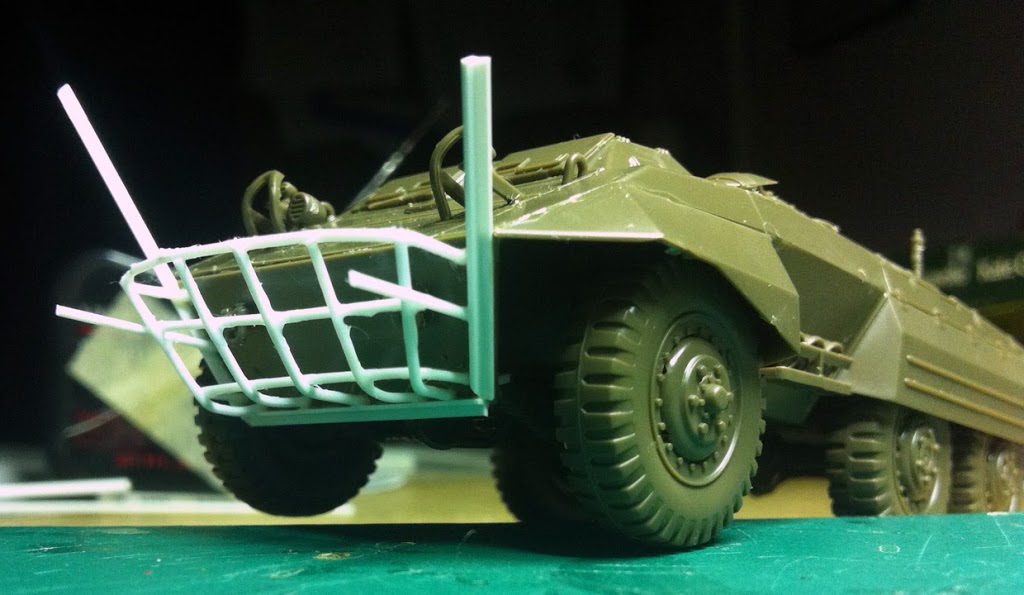
After drilling some holes I added the base wire and slowly began to add cross bars. To finish it nicely I added L-shaped bars along the sides.
Then I started the sand bags. I am sure most of you already know how to do this, but just to make sure, this is how I do it:
1. make a long roll of green stuff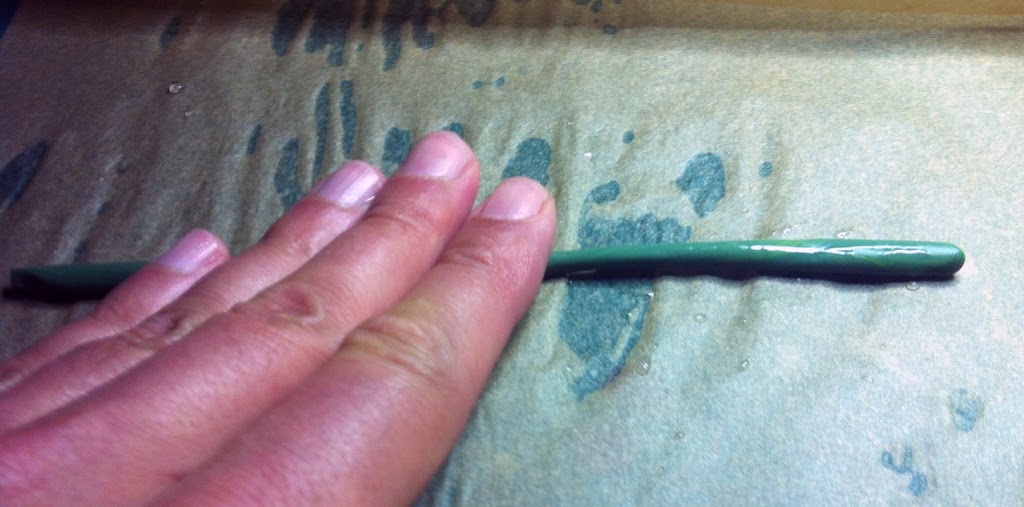
2. flatten it a bit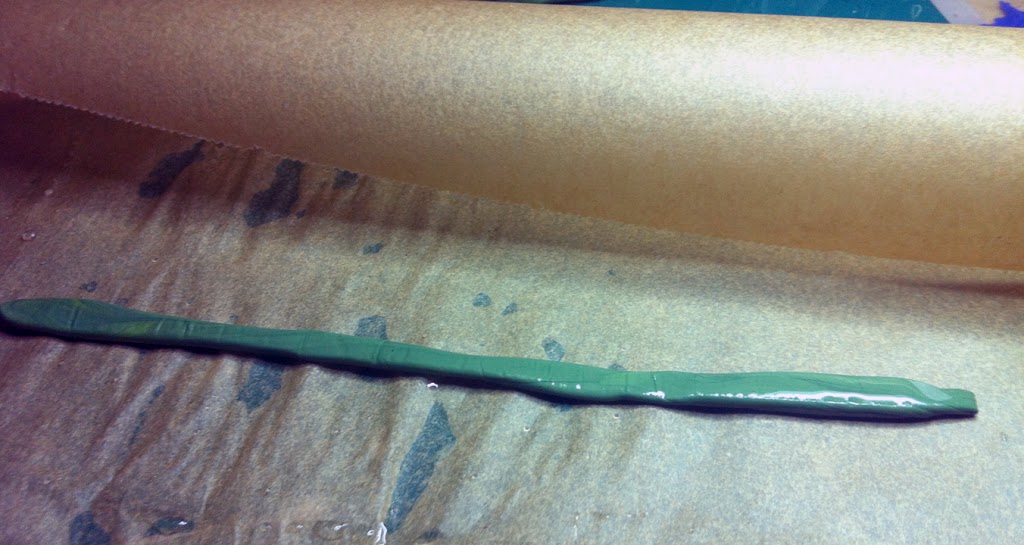
3. cut pieces. keep a soldier at hand, so you can keep an eye on the scale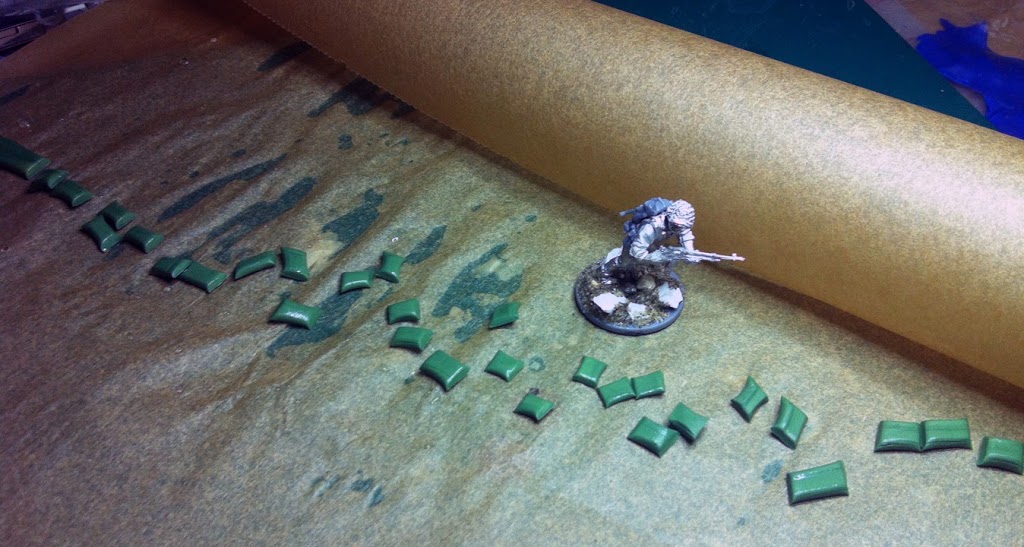
4. once cut, press with good, textured cloth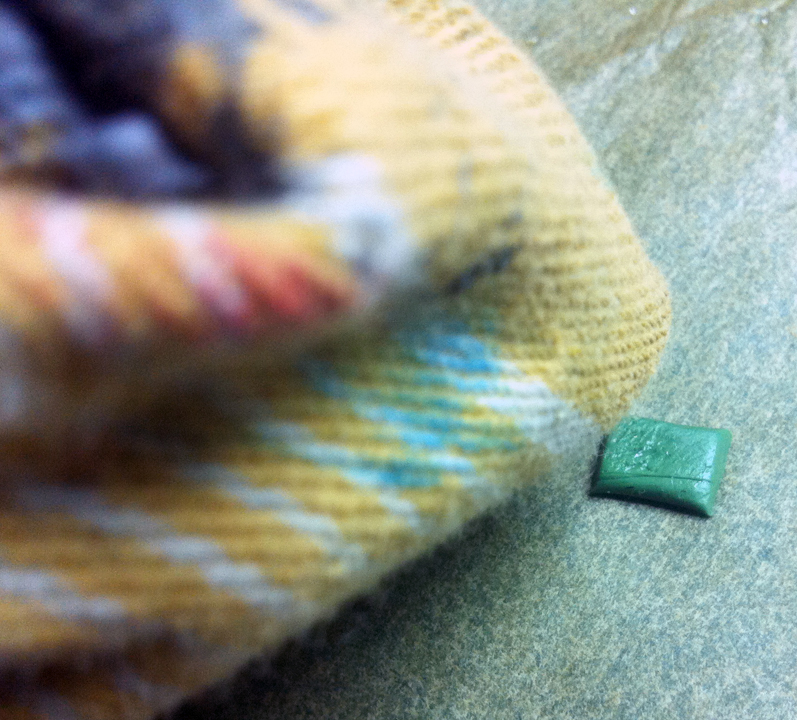
5. add to rack. Make sure not to forget the stuff the bottom of the rack and and let some of it stick out of the bottom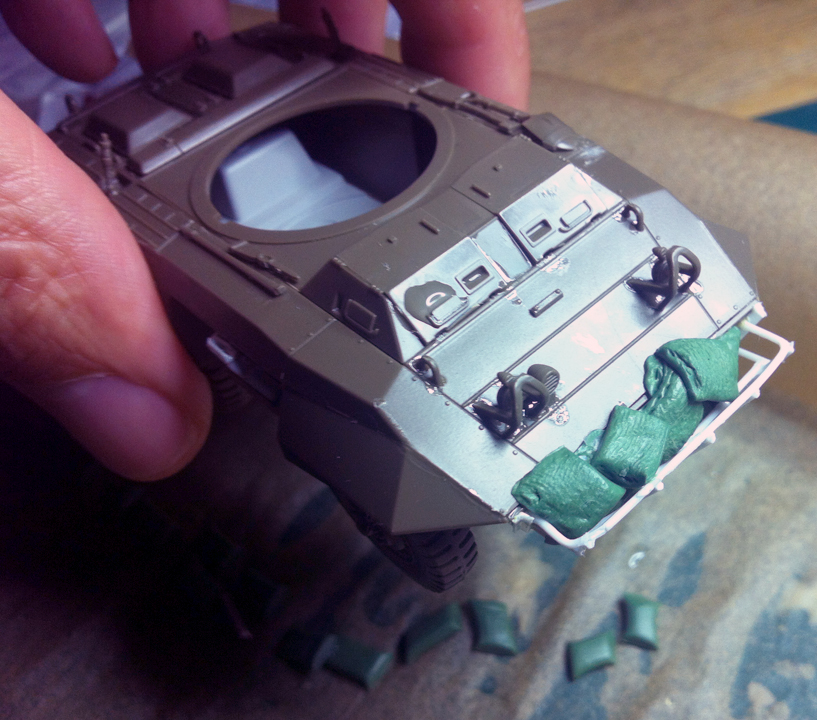
Make sure to bend some of the corners to make it more realistic.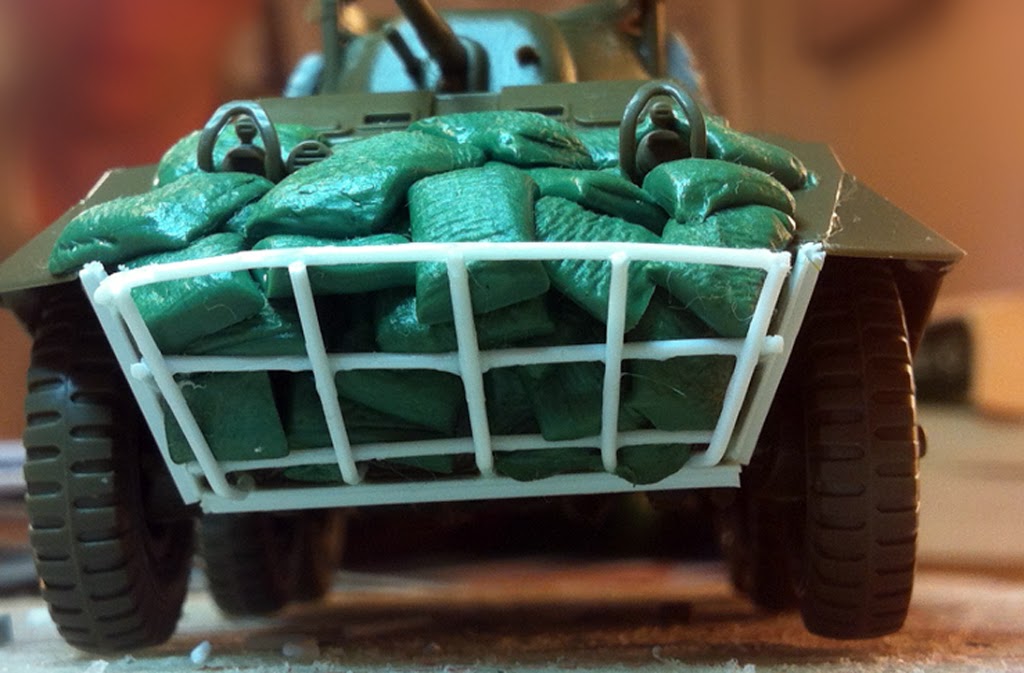
Hopefully some of you will give this easy process a try, it’s great fun!
The Tamiya kit doesn’t have decals that match any of the units active in the Northern Italy theatre, which is the American Army I am fielding in Bolt Action games, so I chose the one that had the most modest decal look – the yellow lettering you see on many Greyhounds were active in Northern France, so I stayed away from those.
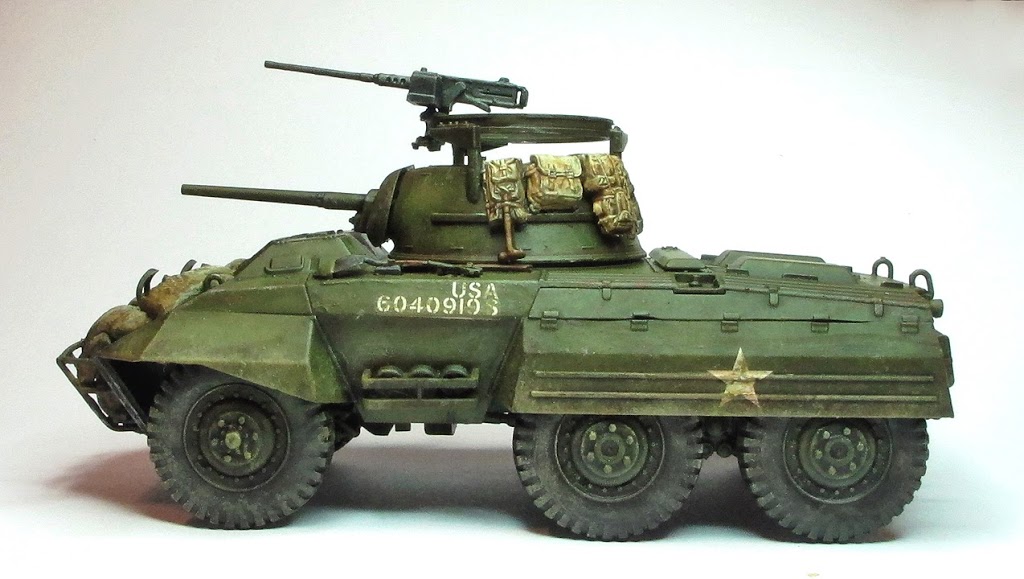
One cool thing: Tamiya did supply the decal for this vehicle, during an action shot in Northern France: