Star Wars Armada: Command Dial Strategy
Mastering your command dial choices is critical to victory in Armada. Here’s how you should plan ahead:
HERO here from Hero’s Gaming Blog,
One of the less talked about things about Armada for some reason is how you go about setting your command dials. I see a lot of topics talking about commander choice, fleet design and what upgrades to take, but I generally don’t see commands being talked about all that much. This is a big mistake that I think I’ll be addressing in today’s article.
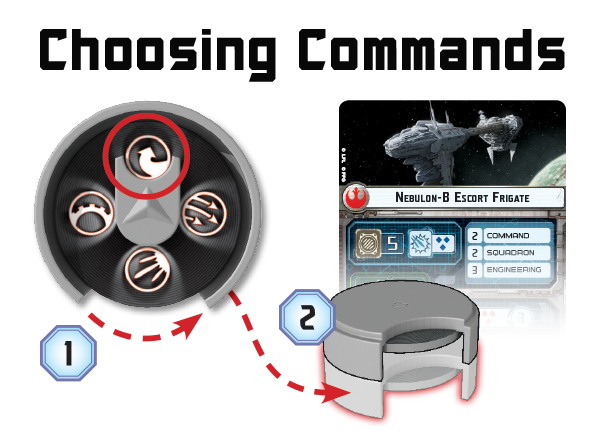
When I think about command dials I think about turns in the game. It’s basically a timeline that you can control about where your ships will be and what they will be doing on that particular turn in the game. This might not be what everyone is thinking, but it’s what I’m thinking when the game starts out. After the deployment is done, I look around the table and choreograph a general idea of where I want to be, try to anticipate what my opponent will be doing, and seeing if the battlefield conditions play out the way I think it will. Most of the skill in Armada comes in how well you can accurately react to battlefield conditions, and also how you go about planning of them just in case things go wrong. Sure, you can always compensate for a misplaced command dial and take a token, but most of the time the dial will always be stronger. That’s why you want to maximize on the effect from the dial as much as you can.
Another way I look at commands coincides with my strategy. Keep in mind that strategy is very different than tactics because strategy typically refers to what you want to accomplish rather than how. If my list is designed to be squadron heavy, and that the squadrons will need to be issued commands to be effective, I will put that into my gameplan when determining what command dials to set. If my list calls for flying forward very aggressively and entering a damage-race with my opponent, I will probably queue up multiple Concentrate Fires. On the completely other side, if I’m going to be flying broadsides and trying to escape my enemy, I will probably look for more nav or engineering commands so I can keep doing what I’m doing without taking too much dmage. I think that overall, your strategy will dictate your initial dials while everything after, is purely reactionary. All of this needs to be considered as well as the overall timeline of the match. Never lose sight to the fact that with each dial you set, you are making the conscious decision that happens during one of the 6 turns of the game. You only have 6 dials to set in the course of the game, so keep that in mind.
Let’s take a look at a imaginary battle scenario. The order I use to analyze the components on the table are as follows:
- What list does he have and what components are in it? (his list)
- What does the map look like? (ship deployment, obstacle layout)
- What is the mission? (what objective, who is first player)
- What do you think his strategy will be? (an educated guess)
Let’s say that he has a Motti ISD-II list with 2x Raiders and a Fireball. His ISD-II is gearerd for combat with Gunnery Teams, XI7s and ECMs, his Raider-Is have Ordnance Experts and he’s fielding the cookie cutter Vader, Dengar, Rhymer and 4x Firesprays. You look to see the final ship deployment, where the squadrons are located on the map, and where the obstacles have been placed. This should be pretty self-explanatory because you helped place some of those obstacles and you hopefully have deployed in a manner that will keep you battle effective against his list. Let’s just say you also have first player so you choose to mitigate his battle advantage with a mission that’s not too detrimental to your gameplan. For the sake of this practice scenario, let’s say that you have first player and chose to play Contested Outpost while keeping the outpost clear of as many obstacles as possible. Your opponent chooses to park the majority of his choices at the outpost and he set his ISD-II at speed-1. This should immediately set off some red flags that he’s looking to play at speeds 1-2 at max, looking to get as much as he can from that outpost as possible. You also note his Raiders that are flying flanks on his ISD, but speed-2 suggest that he might be looking for your movement first and flying escort for his Fireball which is sandwiched between the ISD and the far left Raider.
Great, so hopefully you have an idea how you want to execute on this game and now it’s time to get those dials down. It goes without saying that the intial dials you set on your command-3 ships will be turns 1-3, and what you want to do next is reflected in your playstyle, strategy and list. To make it easy, I’ll take you through what I would do with my MC80, MKII, TRC90 and 4x YT-2400s list.
- TRC90 will activate first, navs for token at speed-2, I want to see what my opponent activates and does first, see his positioning, and will probably queue for CFs all the way through.
- MKII will activate next, dials will be set to nav, engineering, concentrate fire, and I want to bank the first 2 tokens while being able to set up at speed-2. I will then queue for Repair on the 4th, and depending on damage intake cycle between Repair and CF once battle is joined on turns 5,6.
- MC80 will activate last at speed-2, sets up nav, squadron, nav, and I want to bank the first nav, catapult my YTs into the fight, nav again to set up a better shot, while keeping the nav token close so I can Engine Techs out of trouble if the situation arises. On subsequent turns, I’m looking to spam repairs because I know the MC80 will be the primary target.
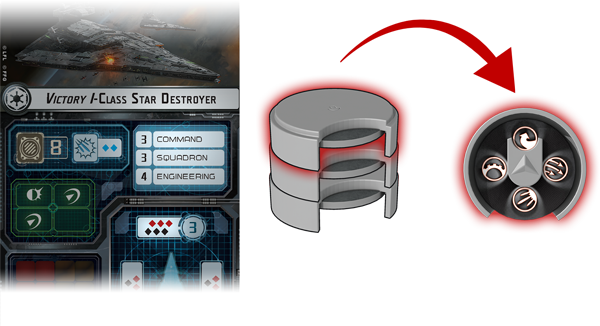
Here, you can see that my dials are set with tons of stuff in mind. This includes activation order, my plan to gauge what my opponent is doing, my strategy to let the YTs do their job while I setup and get into optimal firing position. I also plan for tokens, and whether or not I have Engine Techs, and think about the speed at which I’m going in relation to his. Since I expecting battle at round 2-3 depending on his speed and the MC80 to be taking the beating, I’m trying to keep him flexible (nav token to ET if needed) while letting my MKII throw as much damage as possible. Once I slingshot those YTs into position, I’m going to be looking at them to do their own thing while my ships can concentrate on the greater battle. While you should plan for turn 4, there’s just no way you can see any further than that because too many things can change during this time. That’s why the first batch of dials you set for turns 1-3 on command-3 ships are reflective of your strategy in relation to your opponent’s strategy, turn 4 is where you think the state of the board will be once those strategies have been executed, and 5-6 is purely reactionary with a slice of guesswork. The guesswork is primarily based on how fast or slow damage is coming in what where your ships are located. Only time and dice can really tell there.
~Alright, I think that’s that’s all I got for now about command dials and the strategy behind them. I hope it has been helpful.

