Don’t Forget Your Bases – Ancient Modeling Techniques


Yo dawg, Kenny Boucher here from the ACTUAL beats lab in Hollywood and today we’re going to learn how to pin your metal models to resin bases.
I just finished my transition into my Hollywood beats lab I want to thank all the people I met and who poured drinks with me at Adoption where the Long War Team won beset Heretical team.
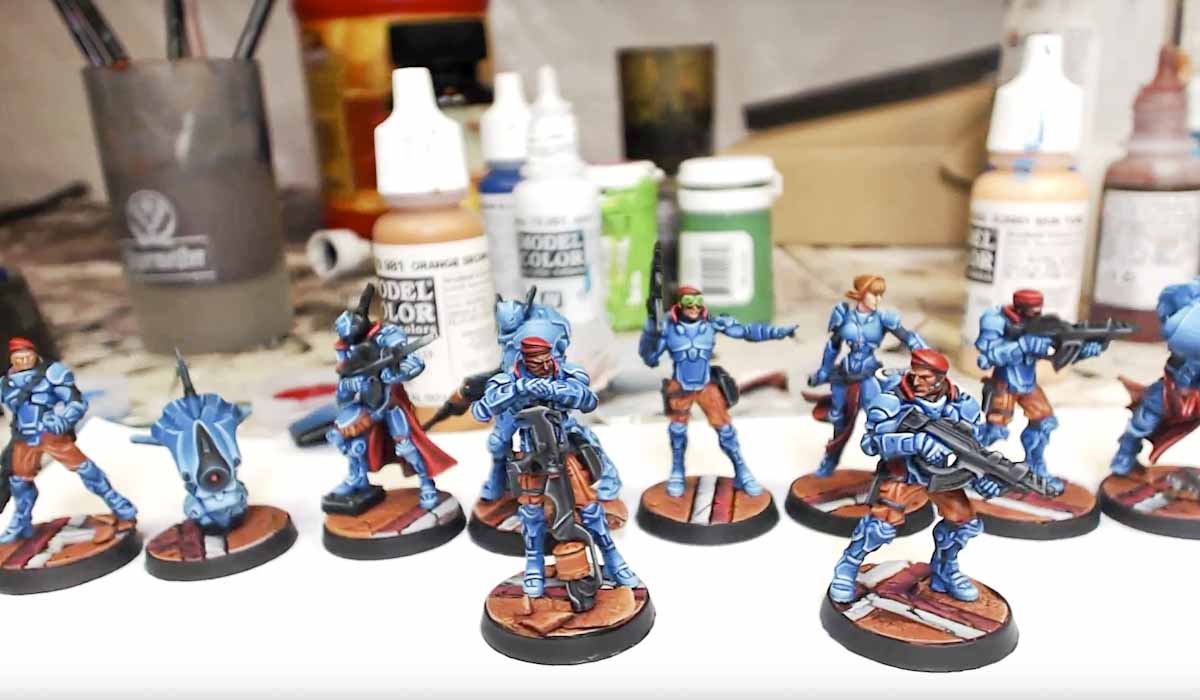
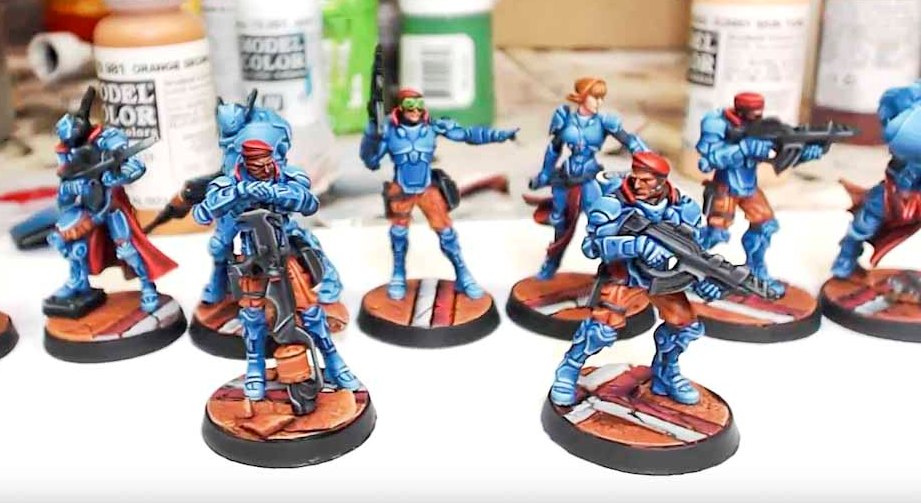
Back to the tutorial, we’re going to talk about getting those itty bitty metal infinity mini’s off their slotta bases and on to some dope bases. It’s called pinning and that’s the ancient secret I’m going to reveal to you today, thanks to support from our Patreon which lets me do things a bit more righteously like getting my twitch stream going for everyone.
Okay, so now, now it’s time for the Ancient Hobby Technique, Pinning metal models to resin bases.
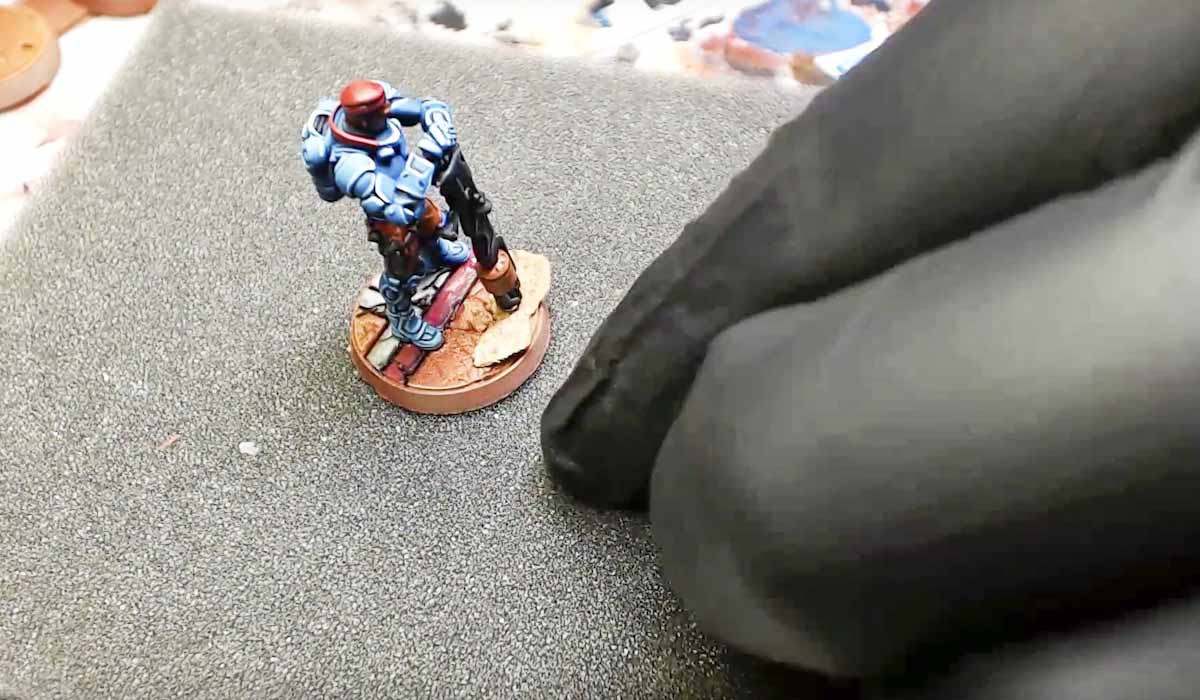
Step 1: For the love, wear a glove. The biggest draw back to metal models is that the pain WILL chip off.
Step 2: Grab your bases, which I’ve painted already using doublesided sticky tape. Don’t paint them one by one, WAY too much time.
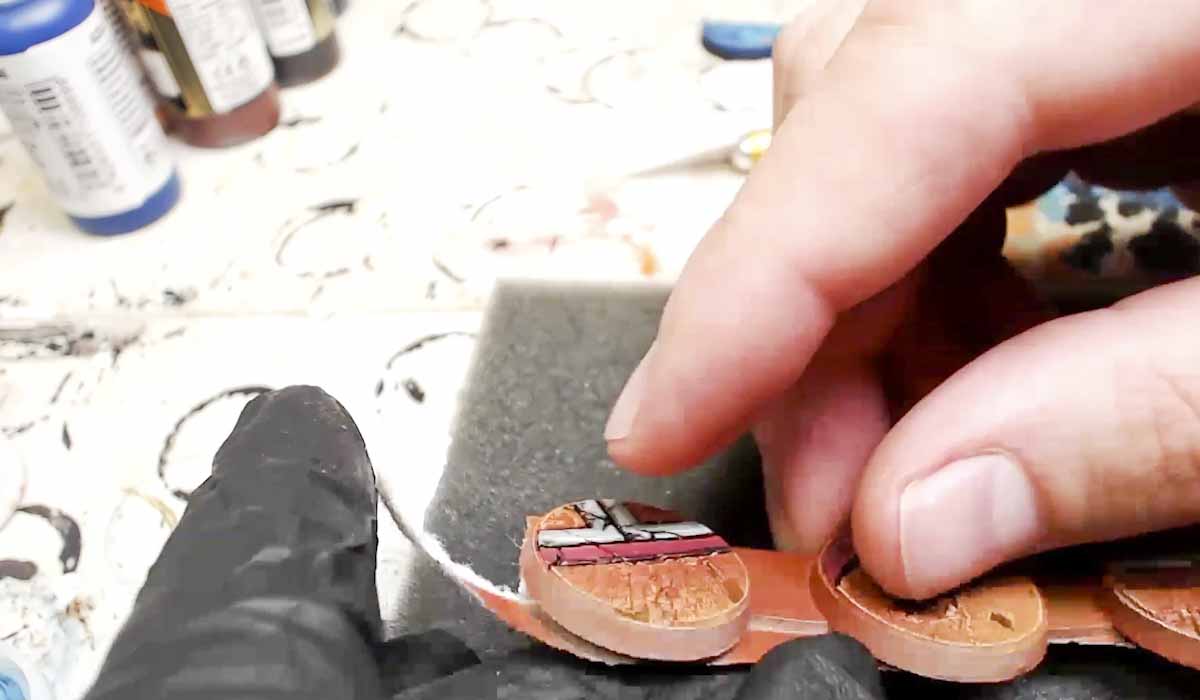
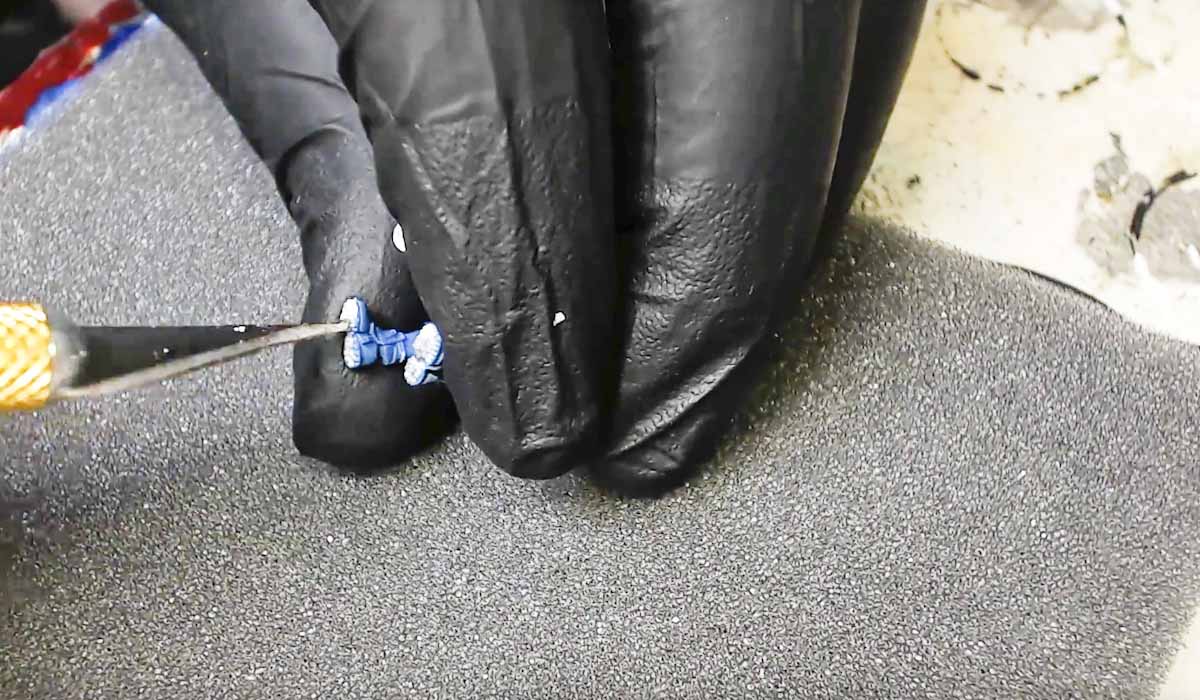
Step 3: Grab your clippers and start scoring around the base, just prying and pulling and it pops off.
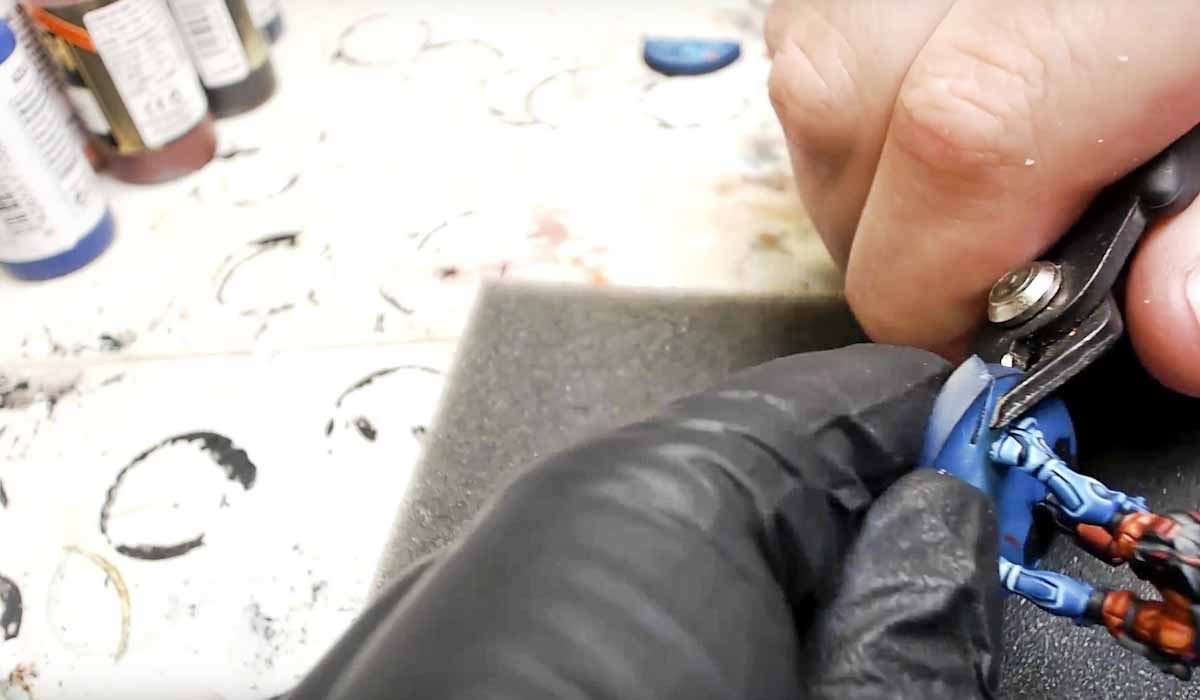
Ancient Technique: You’ll notice I had ALREADY removed the slotta part before attaching him to the base/
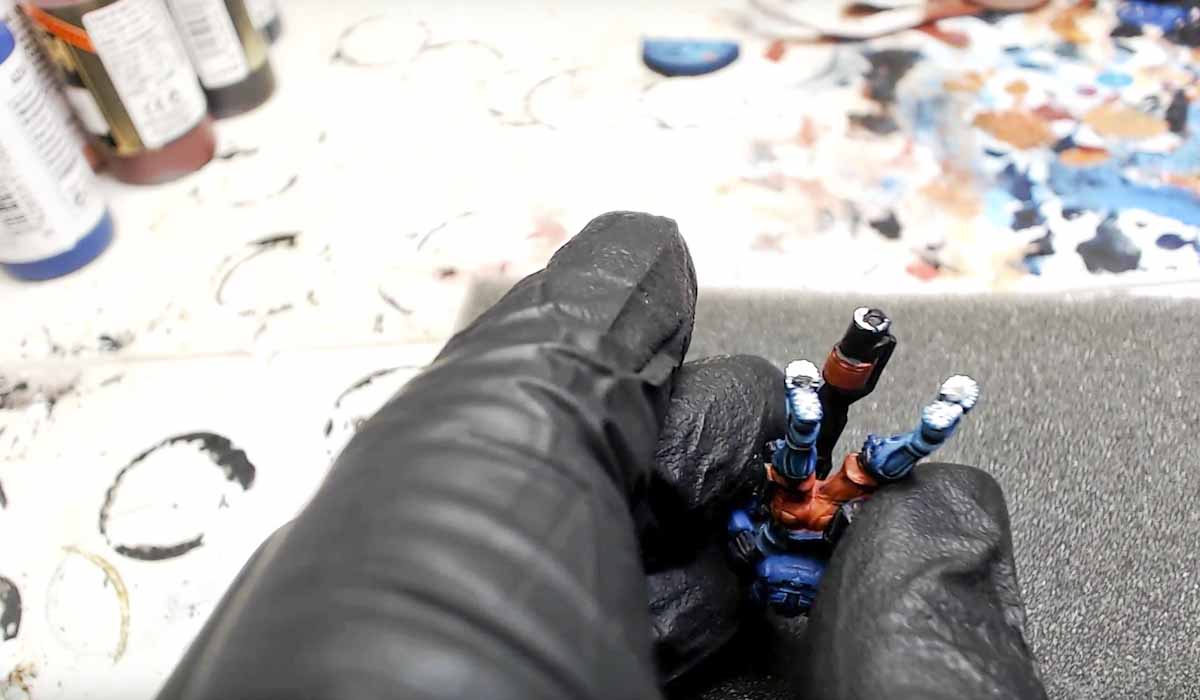
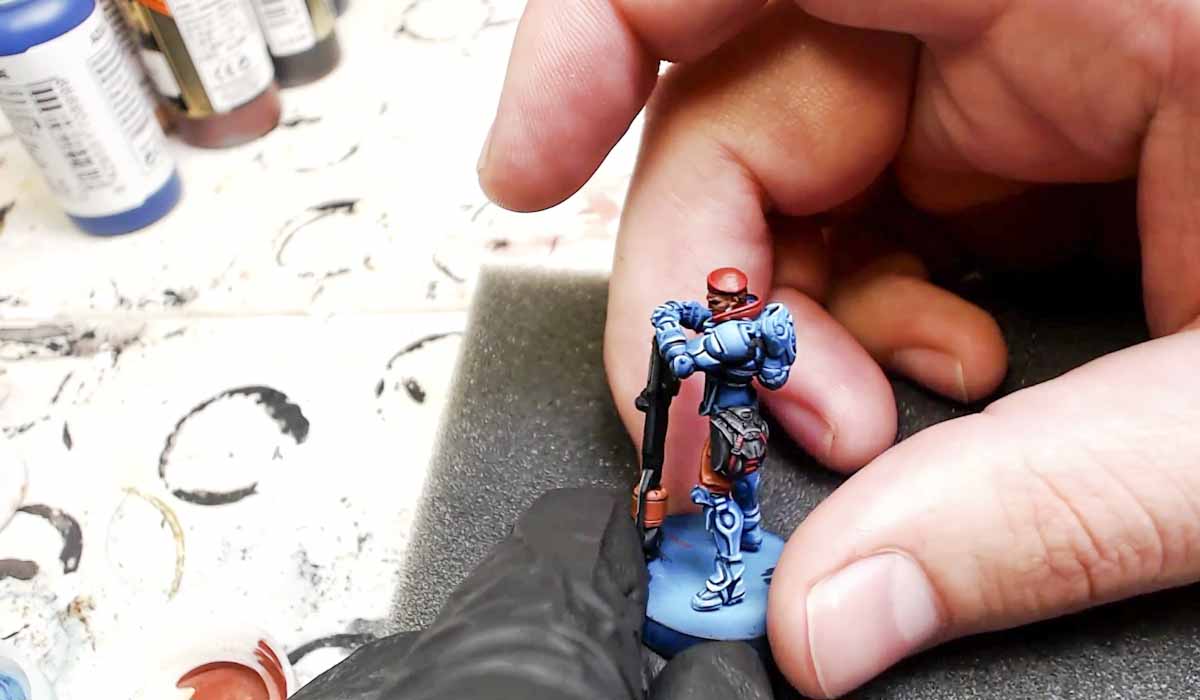
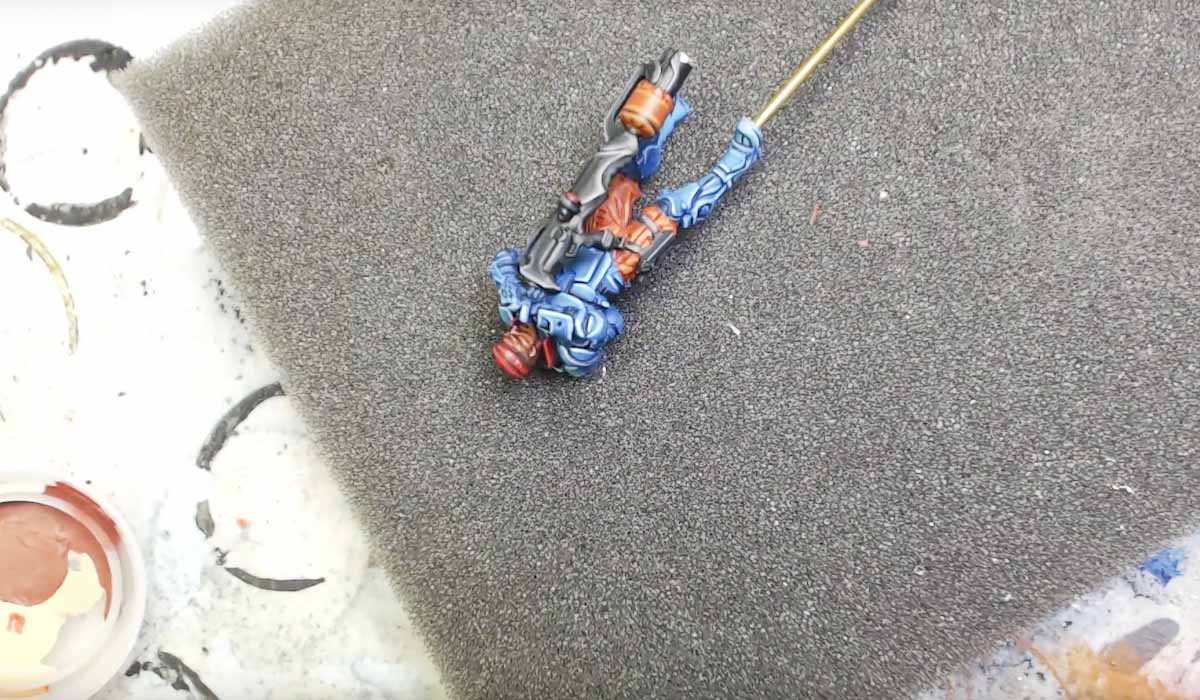
Step 4: Clean up the bottoms to get that old glue off.
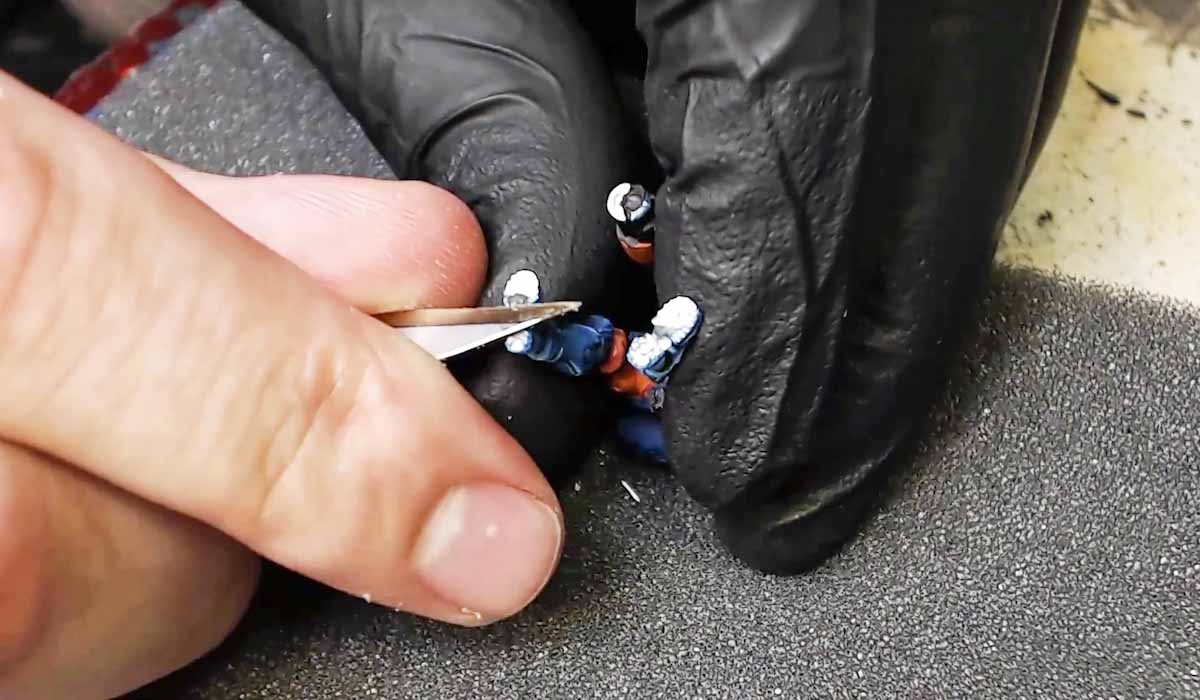
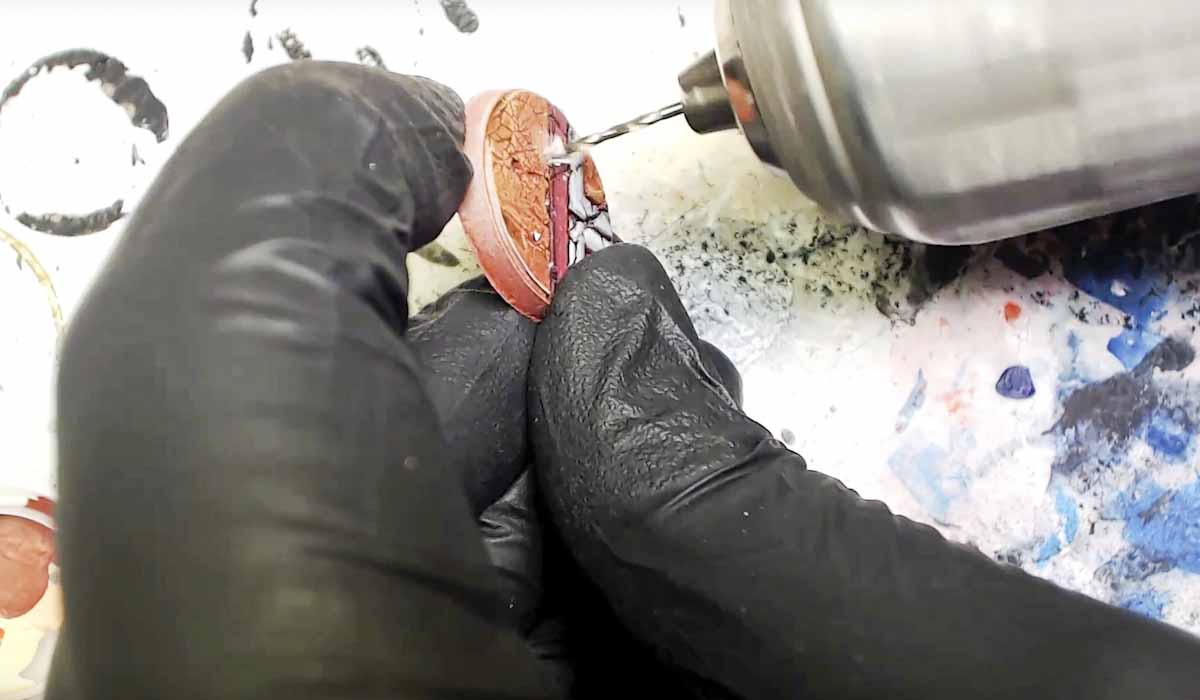
Ancient Technique: Score the base with your knife so that your drill doesn’t slip and slide all over the place. That stainless steel is MUCH harder than that pewter.
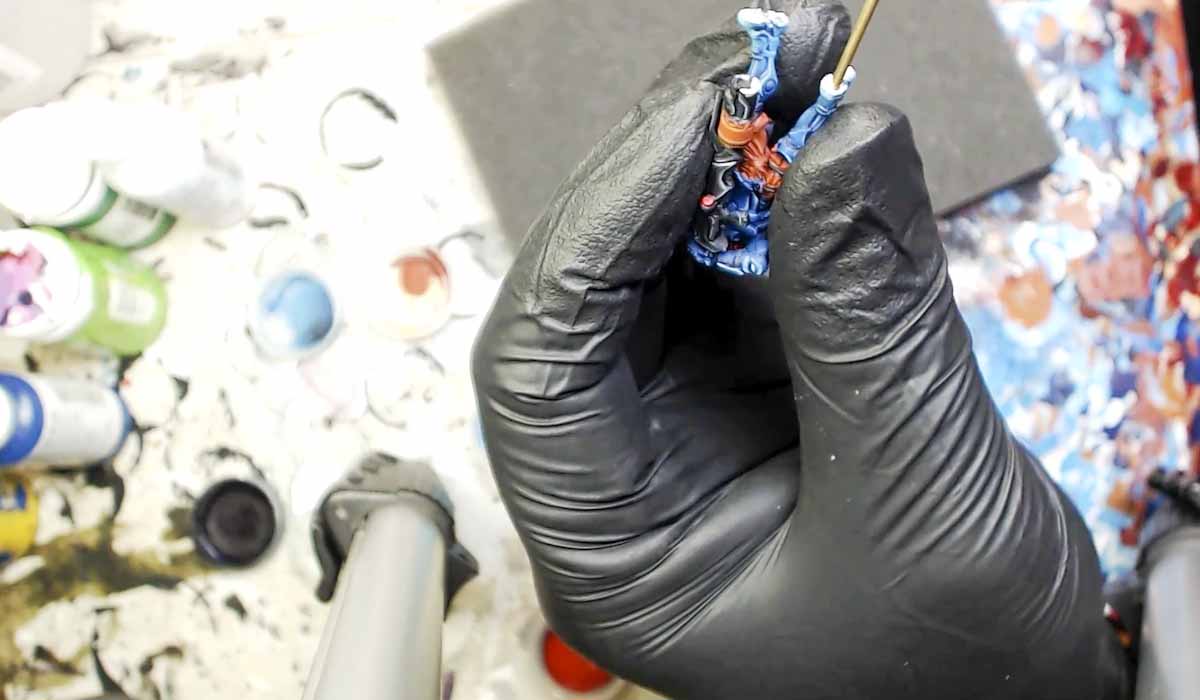
Step 5: Bust out the P3 pinning kit that comes with the drill bits. You literally can’t go wrong with this kit. Then just use your drill and get to work. Go in slow, treat her right. The drill works great as long as you go slow because there’s less pressure exerted on your mini; you don’t even have to go in super deep. Just enough to get some of the rod in.
Step 6: Add glue, insert rod, wait for it to stick.
Step 7: Blast a hole through the base.
Step 8: Clip the rod, be care, it will fly.
Step 9: Add glue, stick it in the hole.
Ancient Tehcnique, you’ll find that sometimes the pin doesn’t sit just right. Don’t pop it out, don’t re-glue it. Just add some Cork. Plus it beef’s up the model. I painted my rocks the same as the base and it looks amazing.