GMM Hobby: Tiki Ogre Backdrop Completed


Hello BoLS readers! Now that the backdrop is built, sealed, and ready for paint, time to get cracking.

Starting again where left off. The sealer and sand add a little texture and is much easier to paint than the foam. A little bit of lightness in this showing through and painting with it, is much better than the green of the foam.
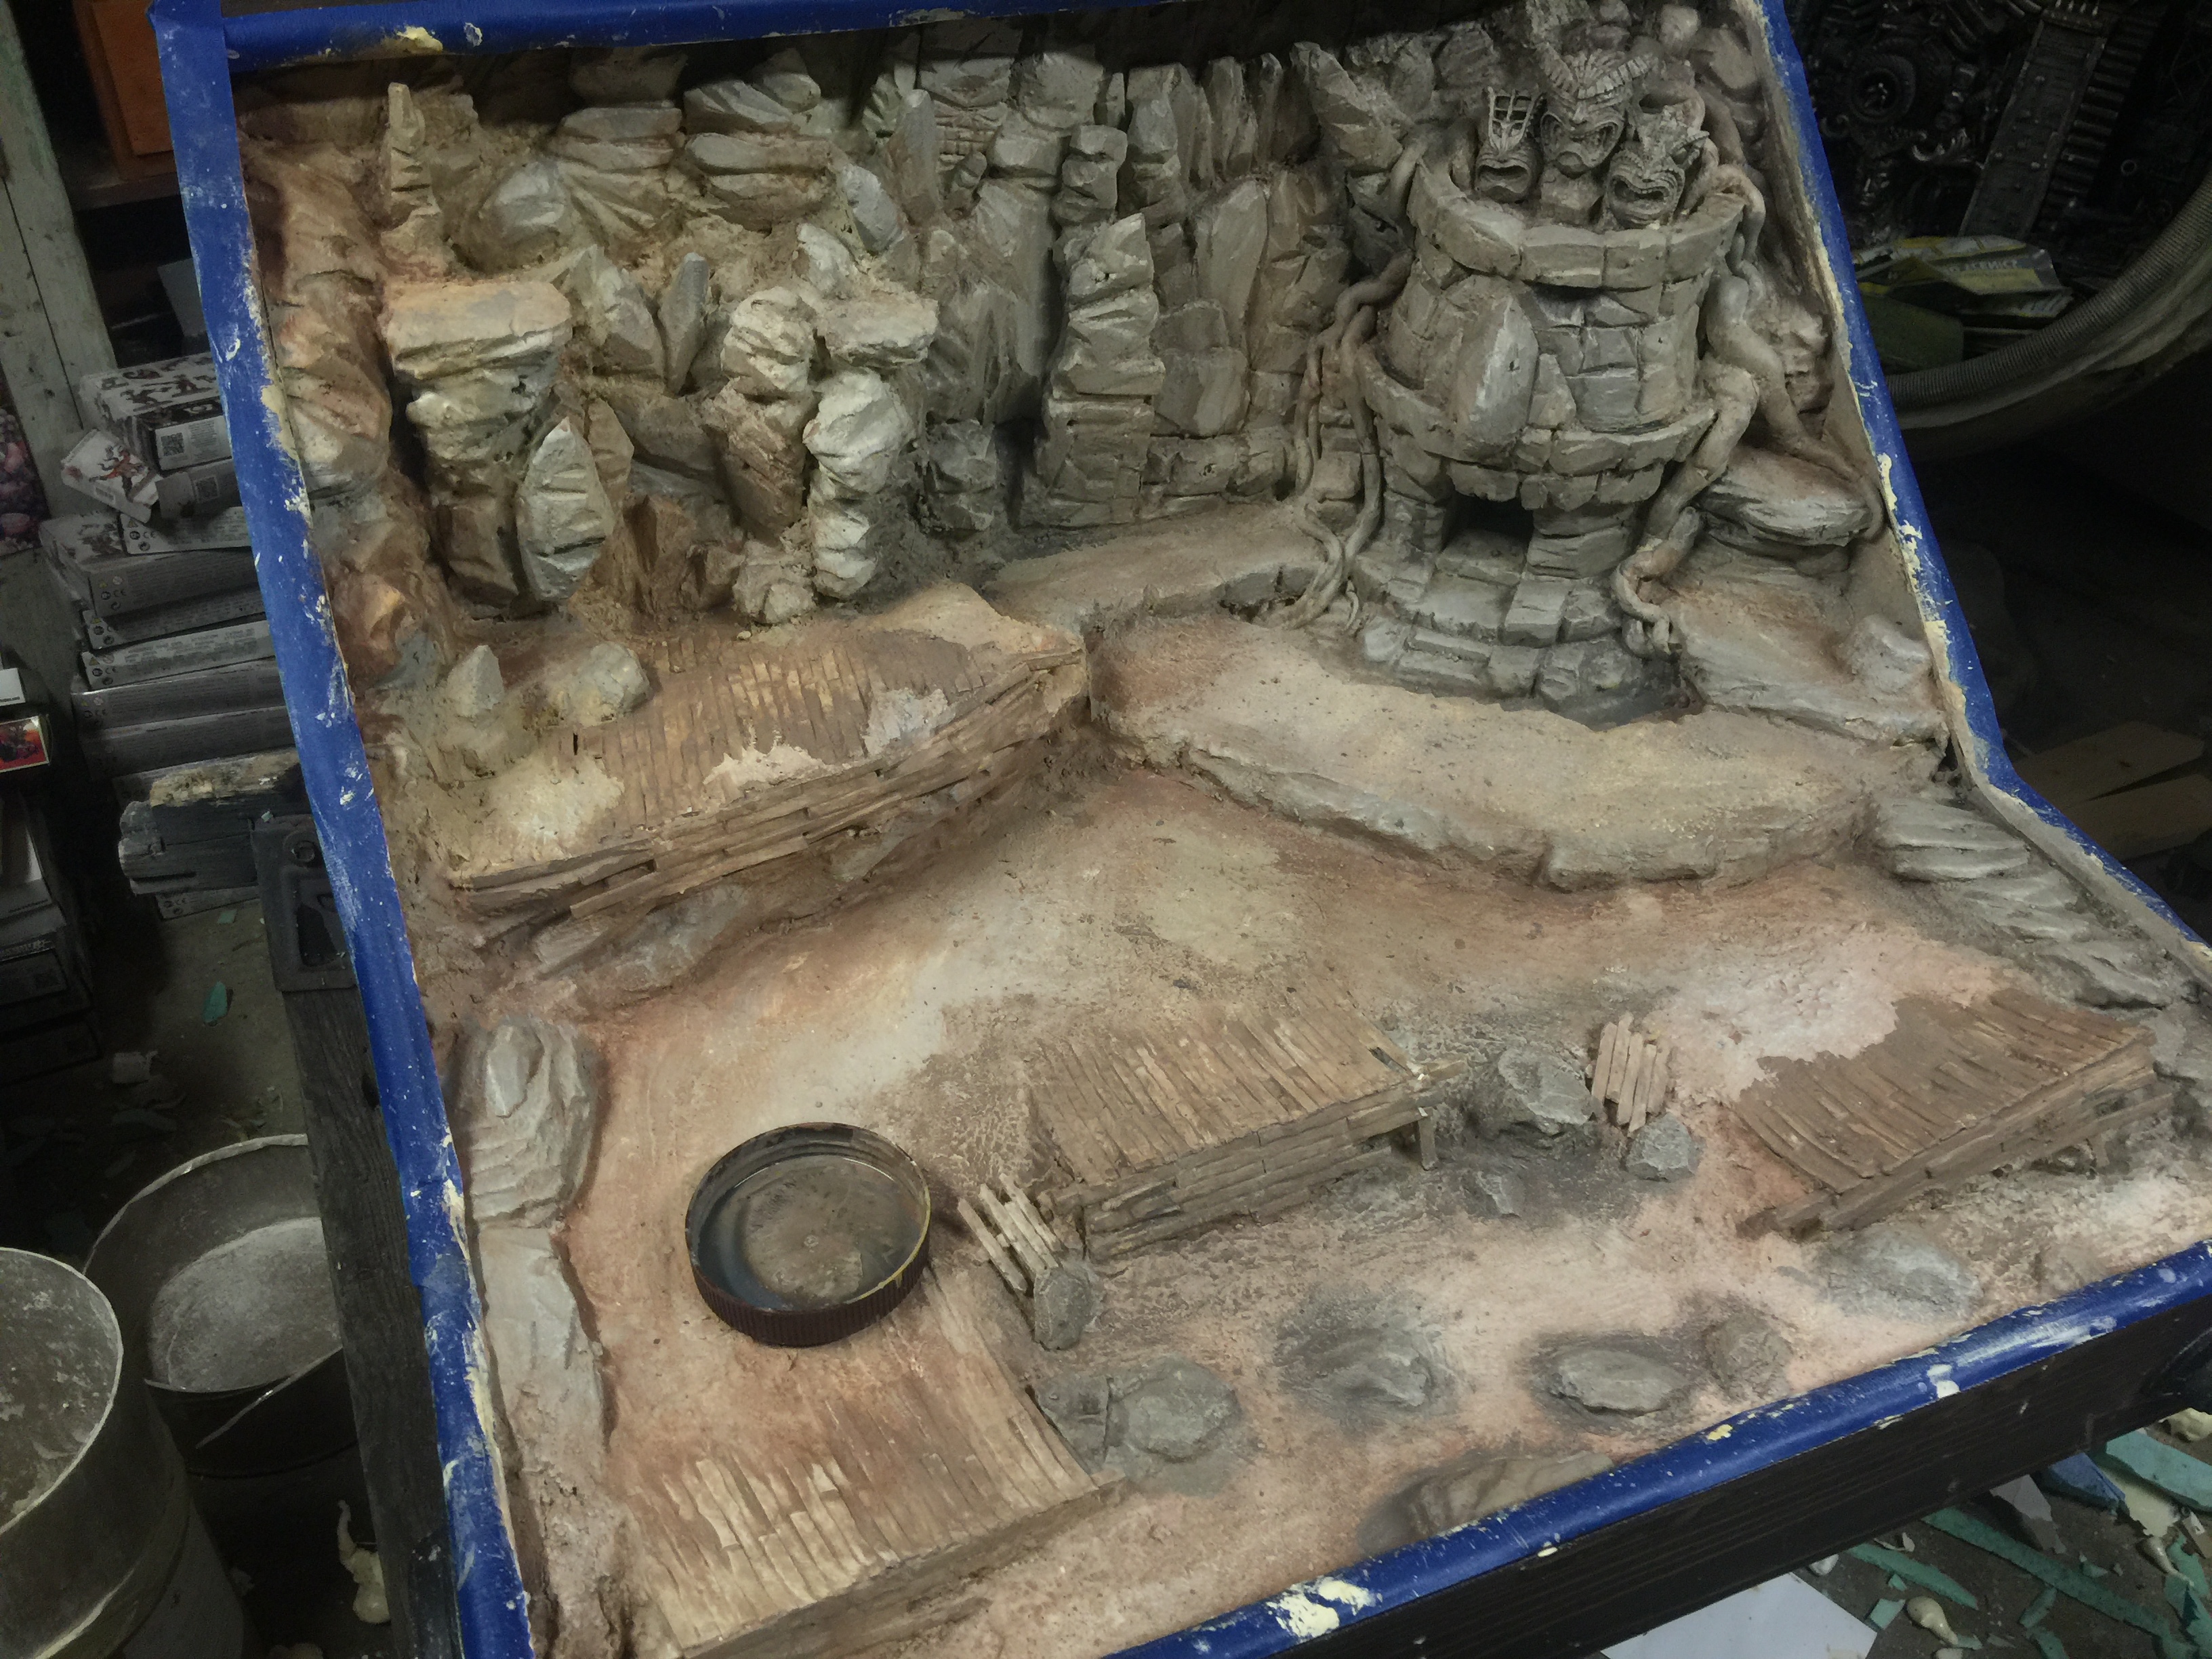
In the first step, its a couple layers of really rough blocking in paint with a large chip brush. Nothing fancy or clean, and that adds to the realism later.
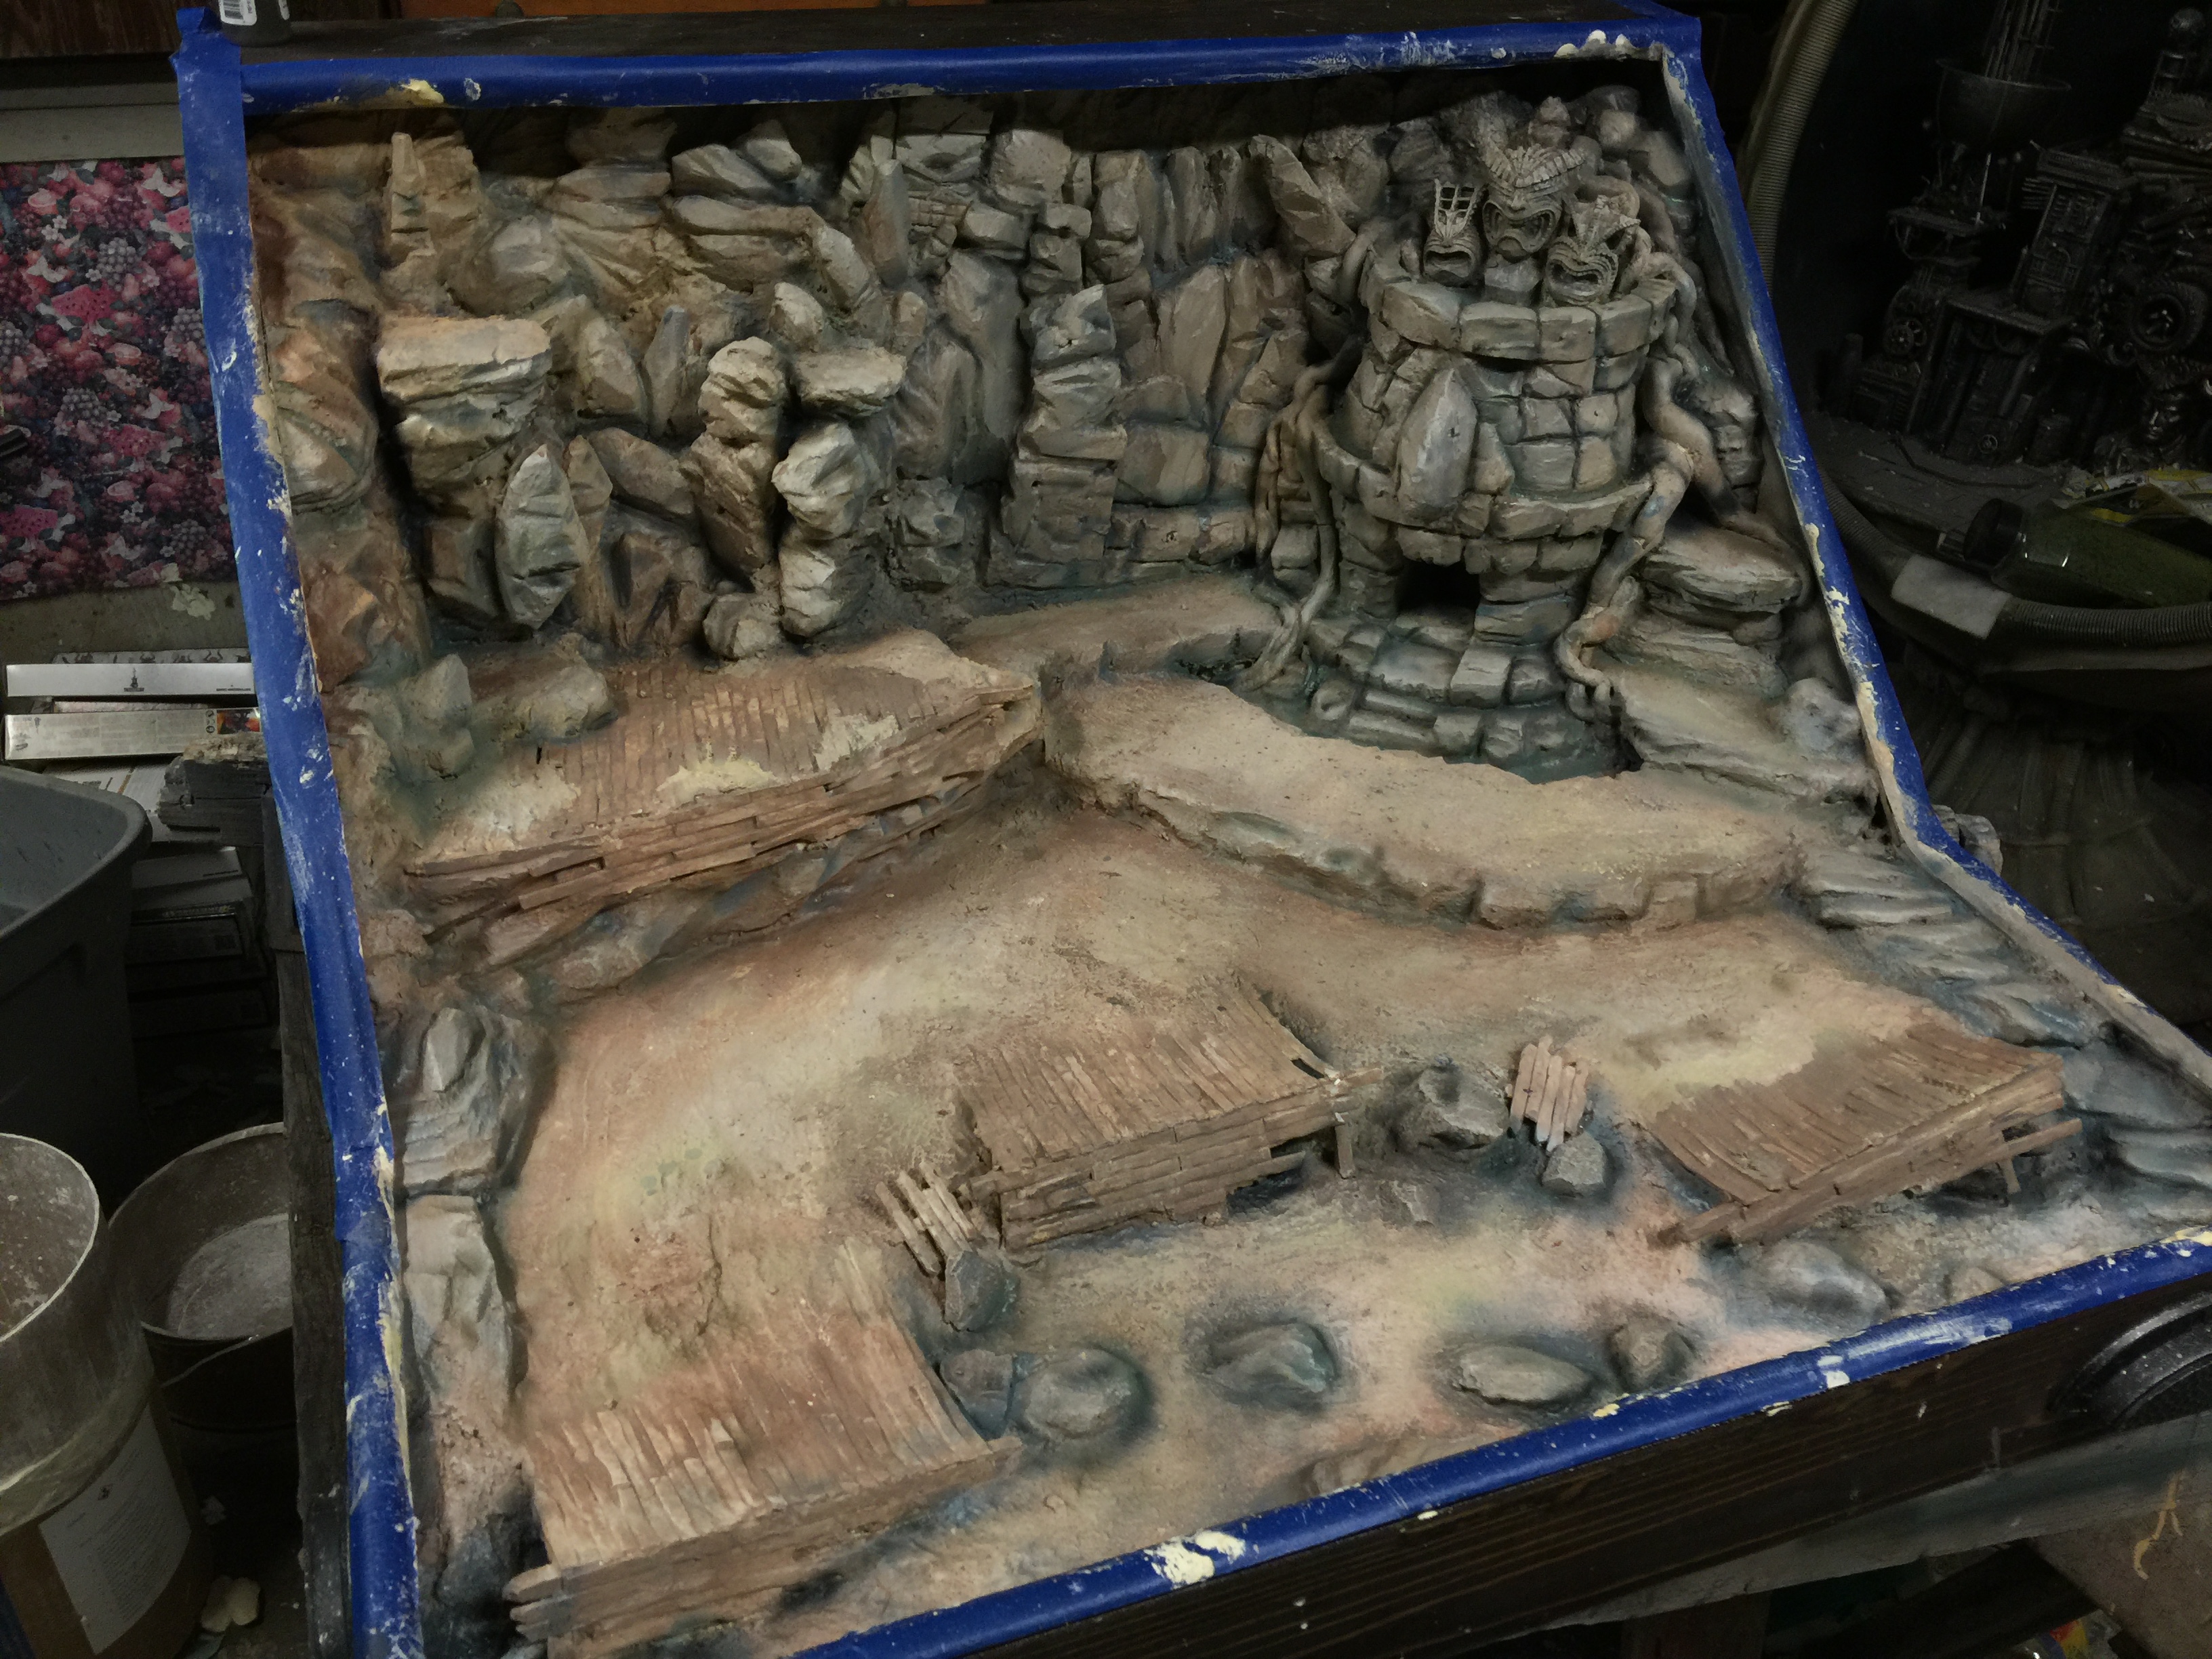
Same thing, getting a little more precise and a little darker. Again, more steps add more realism than trying to do it all in one step.
Now adding some highlights, and a touch of drybrush here and there. The process now becomes a back and forth, up and down, refining as it goes along.
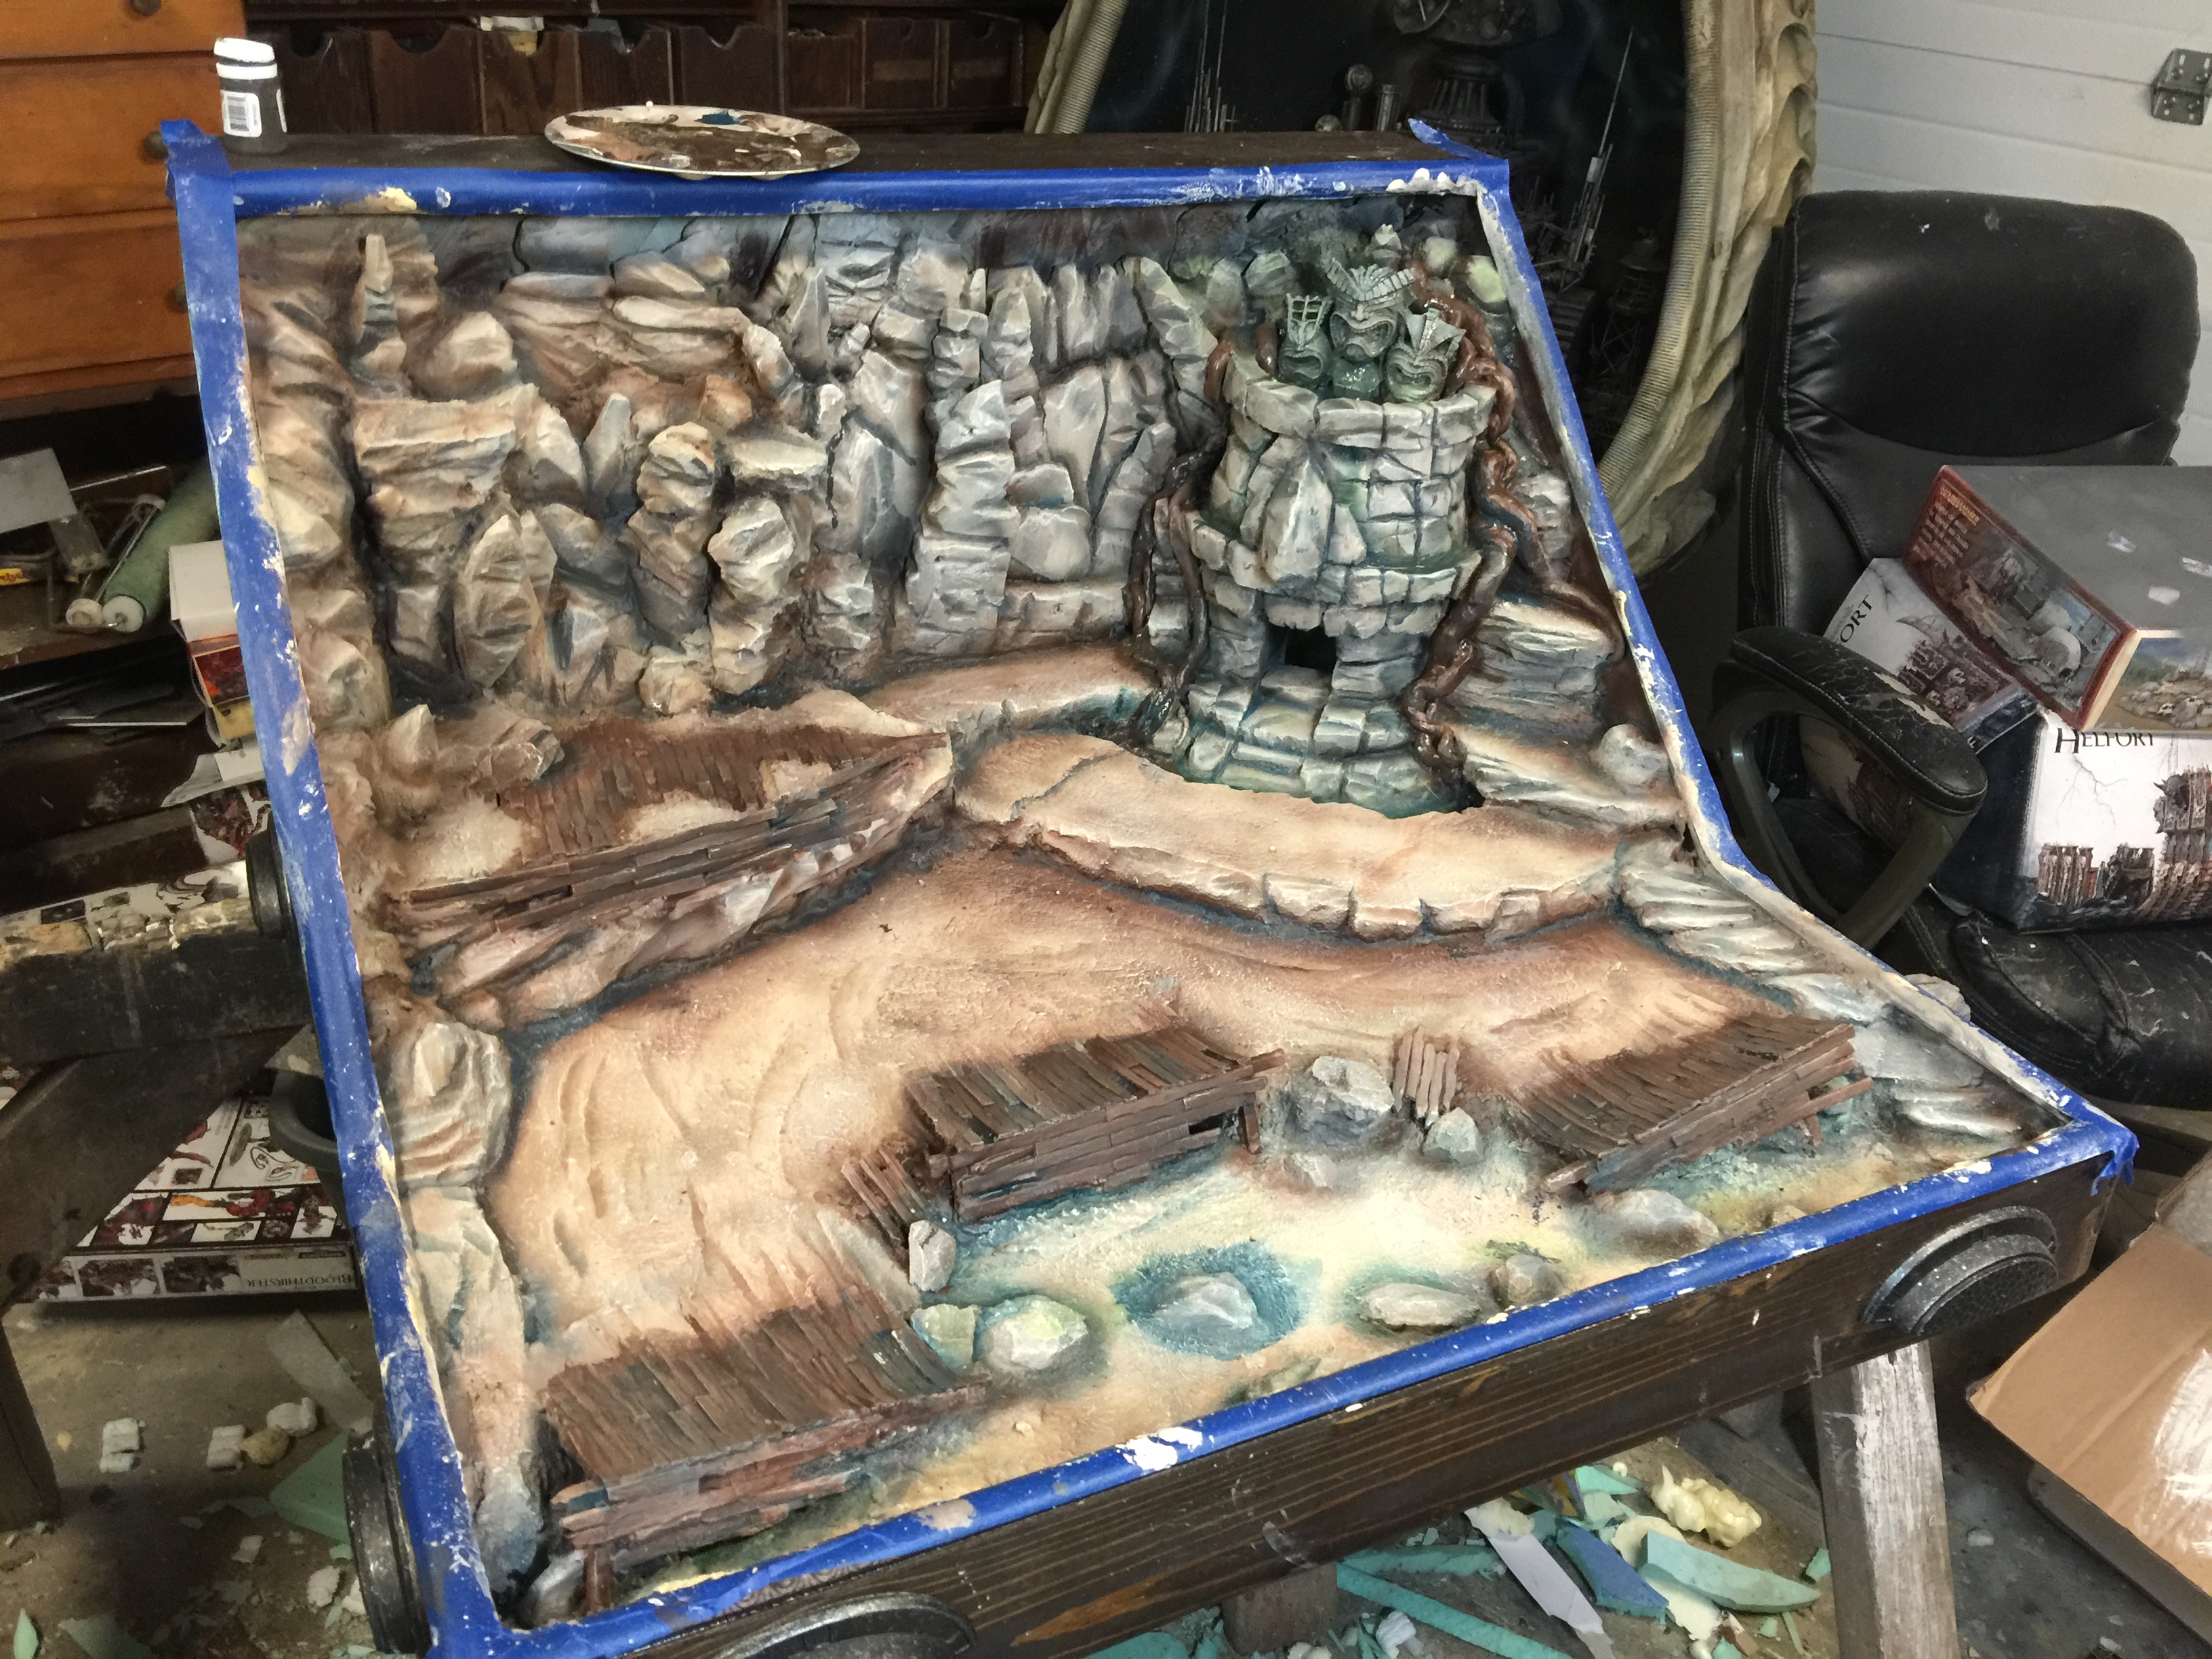
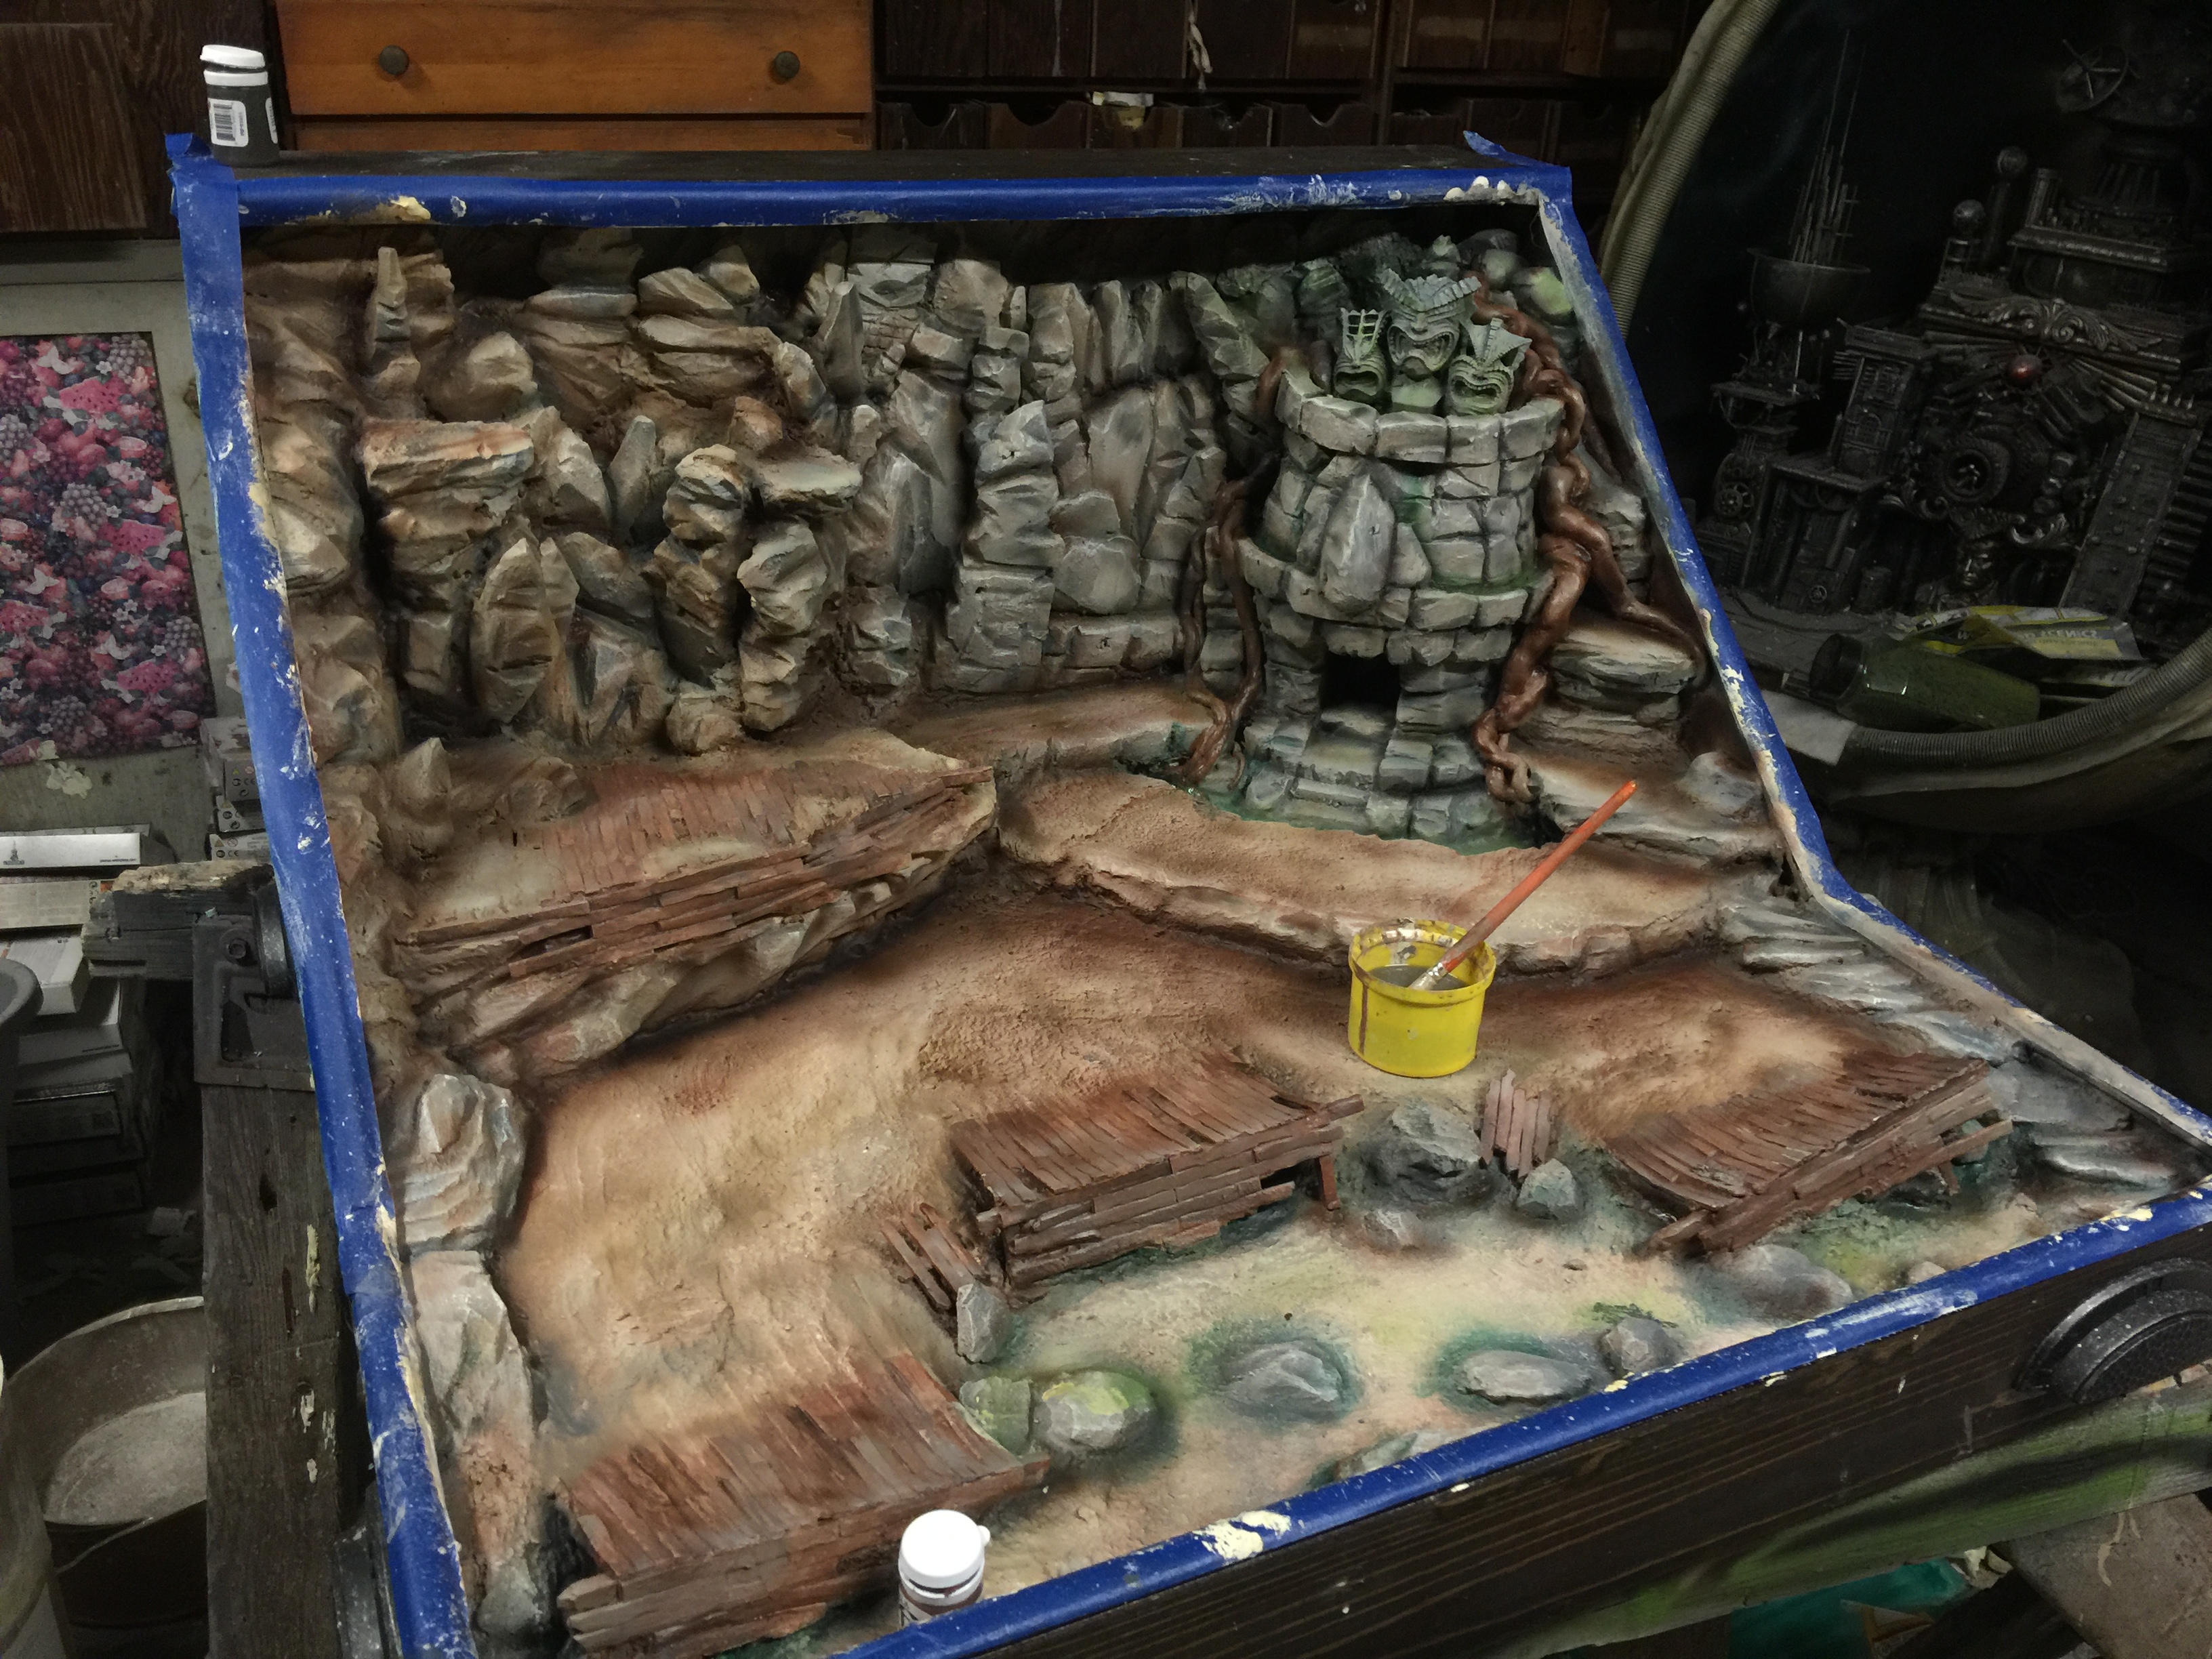
The main colors are about there. At this stage I am using a small 1/4 brush with thinner paint and lots of rags.
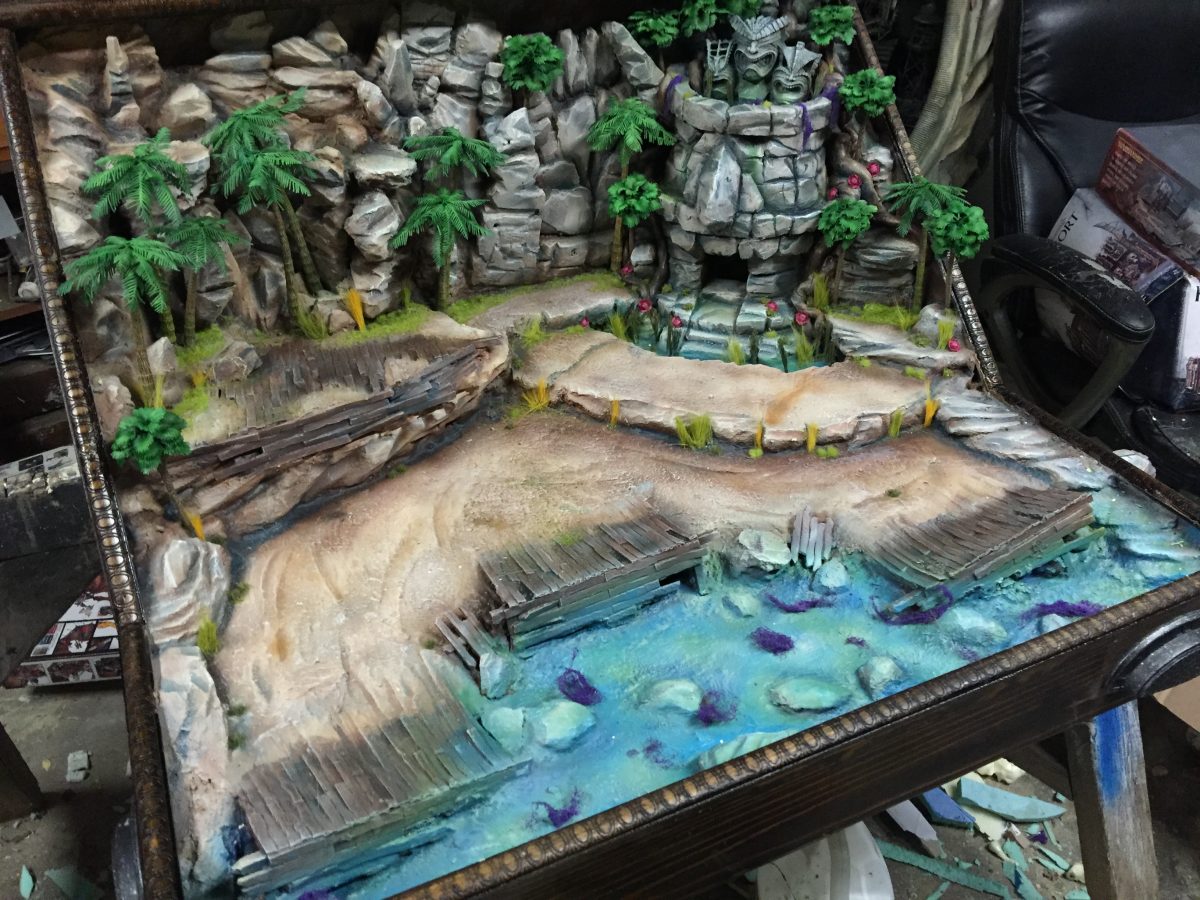
Adding tint to the water areas, as well as some green to some stone areas. You can get tints for clear resin, but I have found over the years with shallow water it is better to tint the area instead for more visibility, as the top waves are going to already be obscuring a bit.
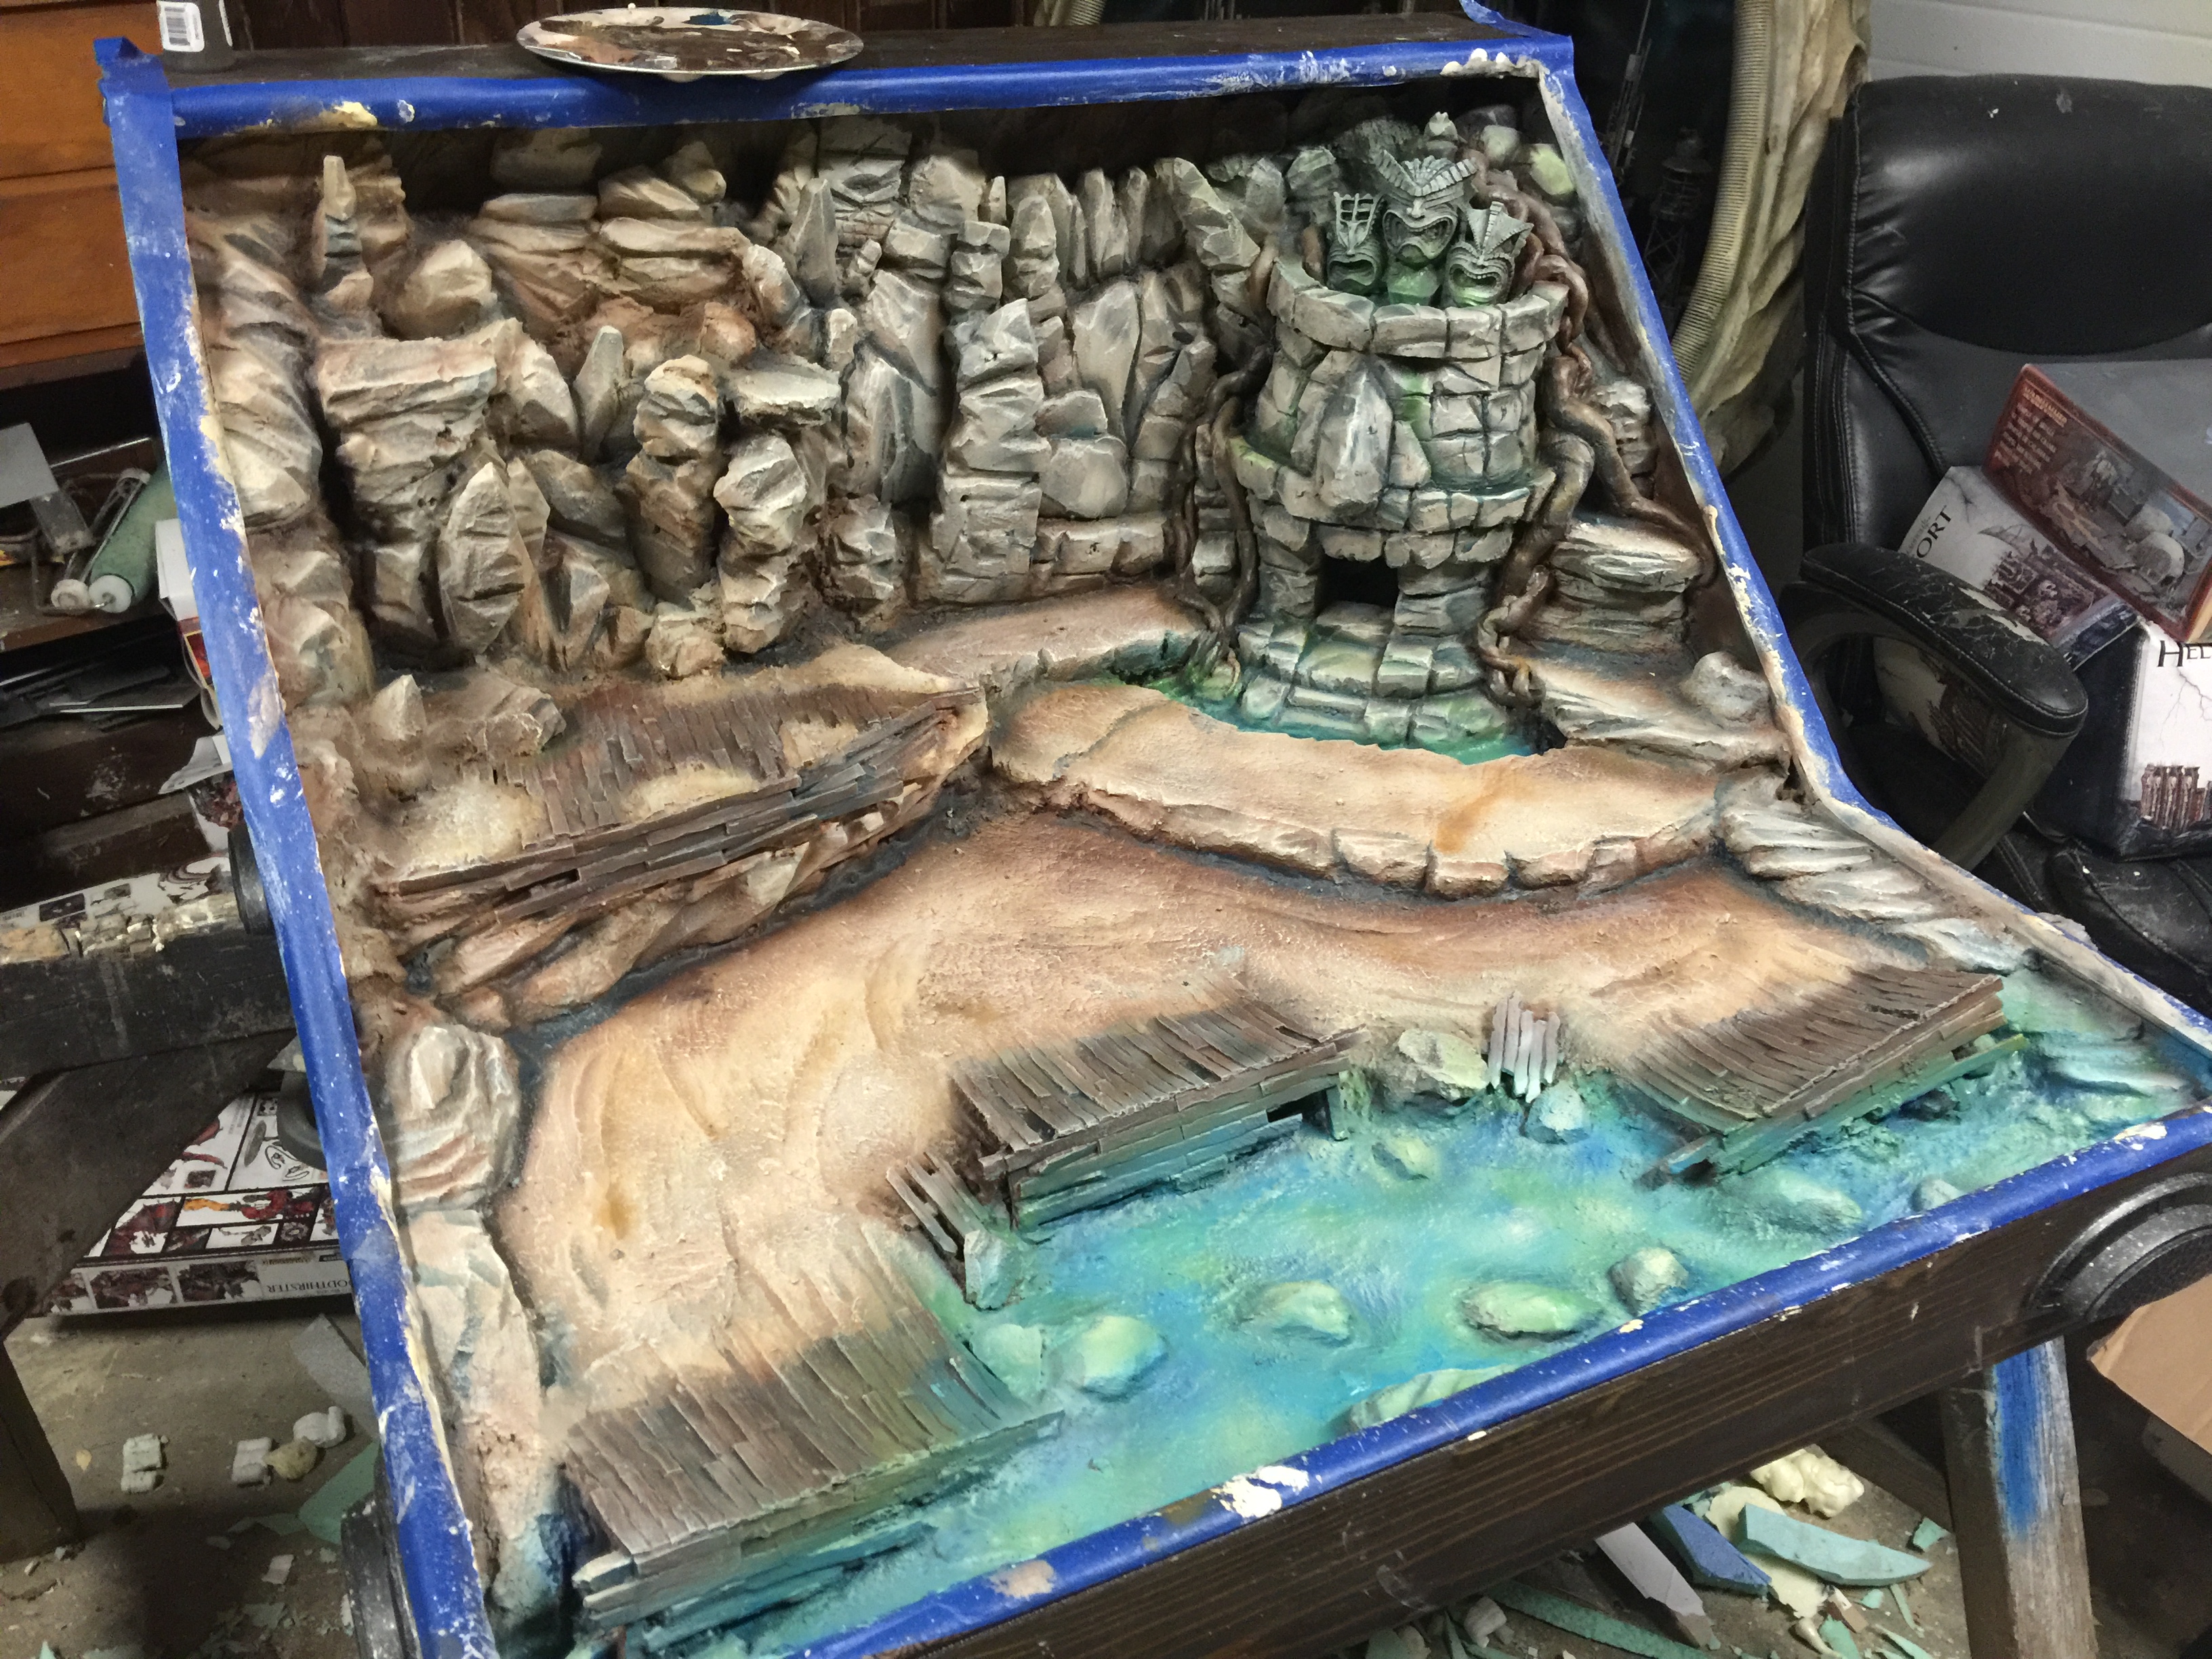
Some trees and some flock, and ready to rumble! Now just need to do the water effect, which is essentially pouring a big mass of clear resin, playing with it as it cures, and then using gel effect for top of waves. I will likely be adding some more flock and some stuff to stick in the resin. For now that is a wrap!
~See you next time with the finished product and army. Thanks!


