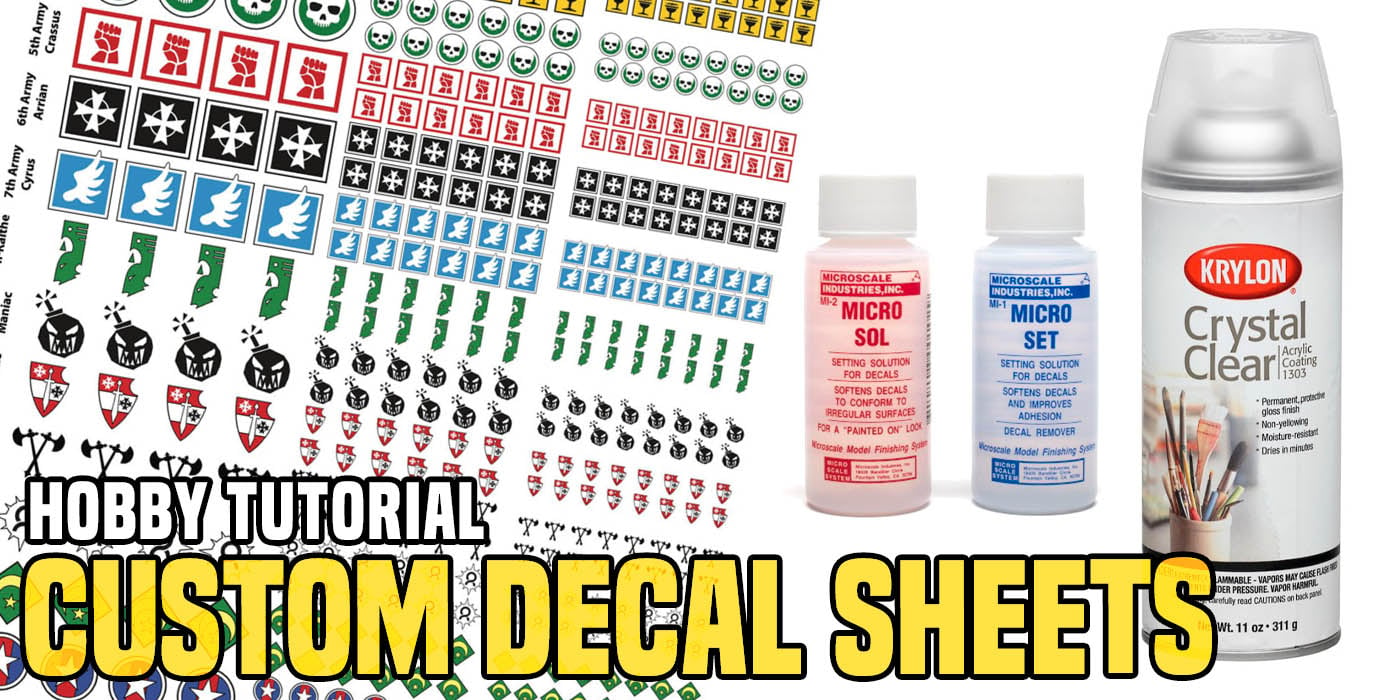
Hobby Guide: Making Your Own Custom Decal Sheets

After many, many requests for this information, I have pulled together a complete guide on how to make custom decal sheets to customize your models.
Custom Decal Sheets 101 – Materials
First of all, you need the proper materials to get started on your way.
Computer Stuff:
- The desired Logo Sheet (in PDF form, for simplicity) Scour the net, there is tons of great stuff out there, or crank up Photoshop and make some logos yourself.
- A computer with Adobe Acrobat Reader.
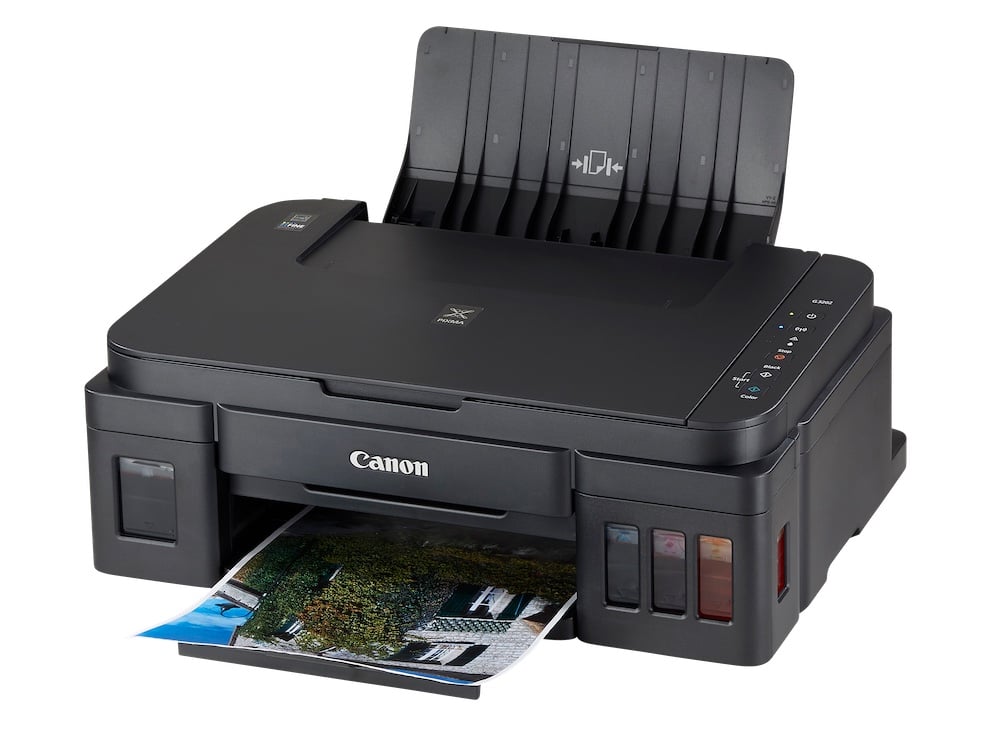
- A color printer (can be a Laserjet or Inkjet)
Decal Sheet Materials:
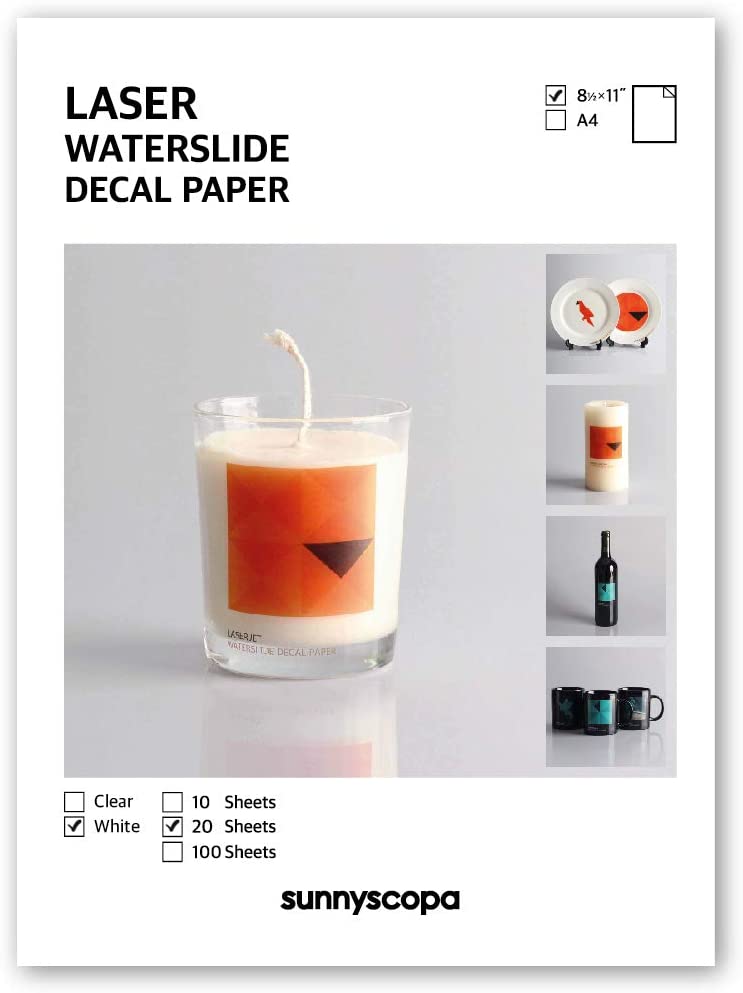
- Decal Printer Paper (More on this later)
- Clear Acrylic spraypaint
Decal Application Materials:
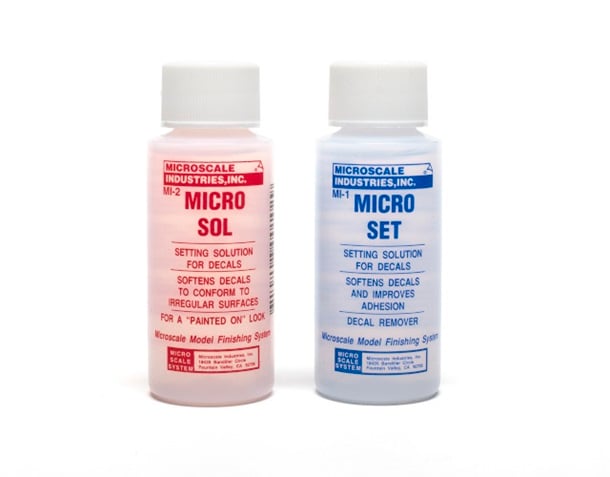
- Micro-Sol
- Micro-Set
OK, lets get started.
Step 1 – Buying the Correct Decal Paper
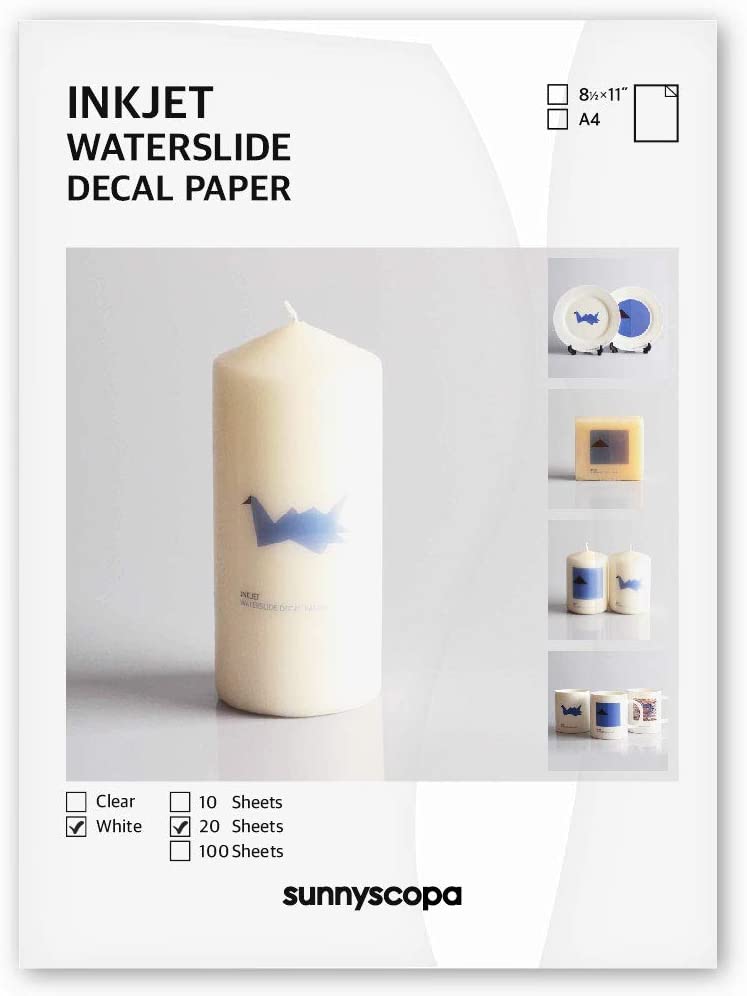
Decal paper is readily available online. You can also find the stuff at good scale-model shops and model railroad shops. The first choice you have is based on your printer. Decal paper is sold for both Inkjet and Laserprinters, and the two are not interchangable (I have learned this the hard way). So only buy the paper for the type of printer you have access to.
These buttons are for laserjet paper!
These buttons are for inkjet paper!
The next step is to buy either Clear or White paper. Let’s be honest for a moment. You have come this far and really intend to do this. The cost of the paper itself is very low compared to the cost your army and paint, so go ahead and buy several sheets of Both. You’ll be happy later as your confidence grows and you have options when moving on to other custom decal sheet projects.
Step 2 – Printing out the Custom Decal Sheet
Now you have your decal paper. Go to your computer or where ever the printer is. Open up the Logo Sheet in question and print out a test page first on normal paper. This step is critical. Look at your test page and feel free to cut out any sample logos for a “trial mockup” to make sure they will fit on your models and look good. Remember that in the “Print Settings” dialog on your computer, you can always scale the sheet up or down a little if you need to make minor adjustments. Go ahead and do this with test sheets until you are satisfied.

Now load the printer with a sheet of of your valuable decal paper, and print out your decal sheet. Remove it from the printer cafefully and Do Not Bend It. At this point, the ink is literally sitting, dry, atop the very glossy surface of the decal paper, and will flake off easily if bent or rubbed.
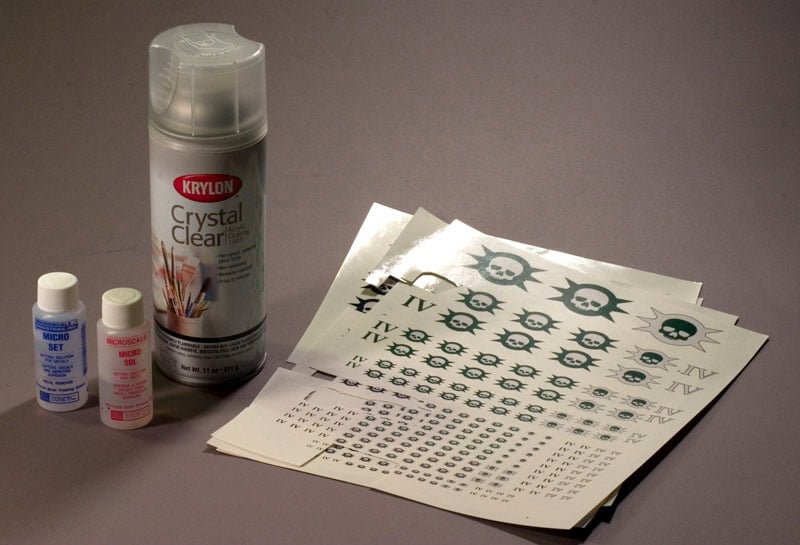
Step 3 – Sealing the Custom Decal Sheet
OK, now get out your can of Clear Acrylic Spray. I use the Krylon seen in the picture, but there are lots of brands. You want a spray gloss finish to fully seal the printer pigment to the decal paper so Don’t Use Matte Varnish. Spray the entire upper surface of the sheet with several coats until there is a good coat of the sealant on there. Carefully move the sheet without touching its upper surface (it will be “limp and damp”) to a safe location and let it Fully Dry (overnight).
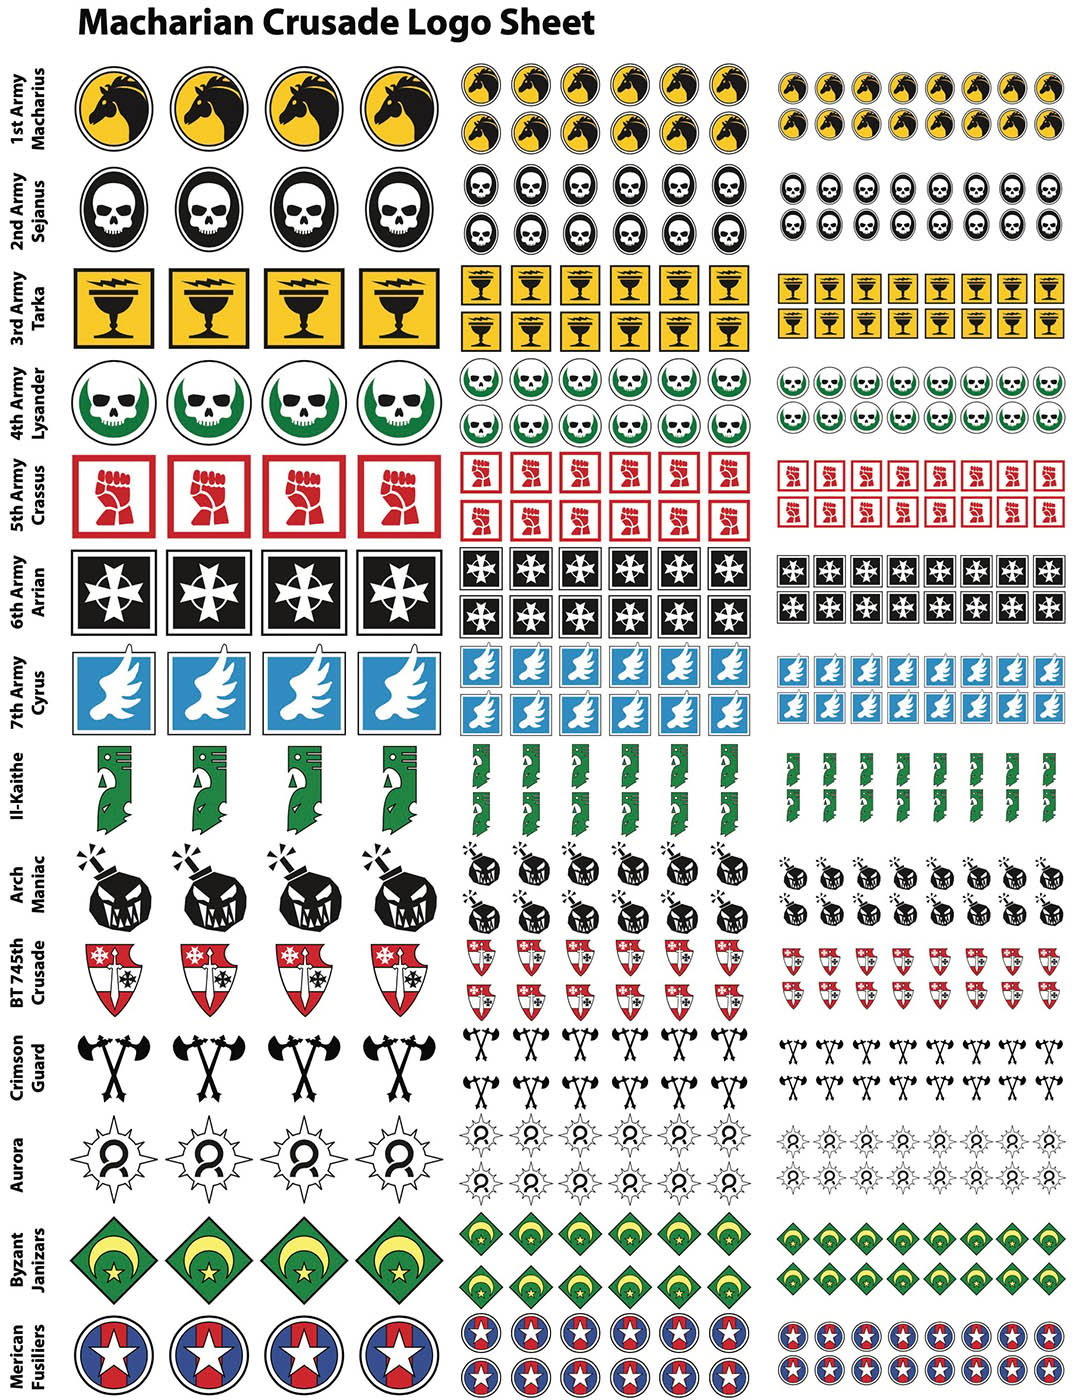
Just one of the thousands of random logo sheets out there…
Step 4 – Using Your Custom Decal Sheets
Your sheet is now complete. You can use it just like any other decal sheet you get with a model kit. Cut the decals out and get going. I highly recommend the use of Micro-Sol and Micro-Set for every person who uses decals. They are readily available from scale-model shops for about $5 each and will last for years.
Micro-Set is the adhesive on the back of decals in liquid form. You brush it onto your target surface before applying the decal and you will get much higher adhesion and resistance to chipping.
Micro-Sol is the true miracle worker though. It is a mild solvent that softens the decal itself. Once your decal is in its final position and you have dabbed away excess water, brush on a small coat of Micro-Sol atop the decal. As the decal dries it will soften and completely conform to every irregular curve and surface texture of your model. If you have ever seen models of WWII german tanks with their highly irregular bumpy surface, and the decals fit perfectly into every nook and cranny and you swore they must have been hand painted…..Micro-Sol is the culprit!
Custom Decal Tips – When to use White Decal Paper Vs Clear?
OK, time for the advanced class. You need to understand your project’s needs and your skill with precision cutting to choose the proper paper.
Clear Decal Paper
This paper is transparent, and only the pigment left by your printer will appear on your decals. As printers do not print White Ink, light colors are left as the transparent background. Most printer ink is very thin and translucent. While your colors will be accurate on a white or very light surface, they will not show up on a colored or dark background. Use this paper when you your target model is very light colored or ideally white. It will also work for black only logos applied to a colored (but not dark) model. As the paper itself is transparent, you can cut out your decals “loosely” and apply them to your model. Any slight edges outside the logo are transparent.
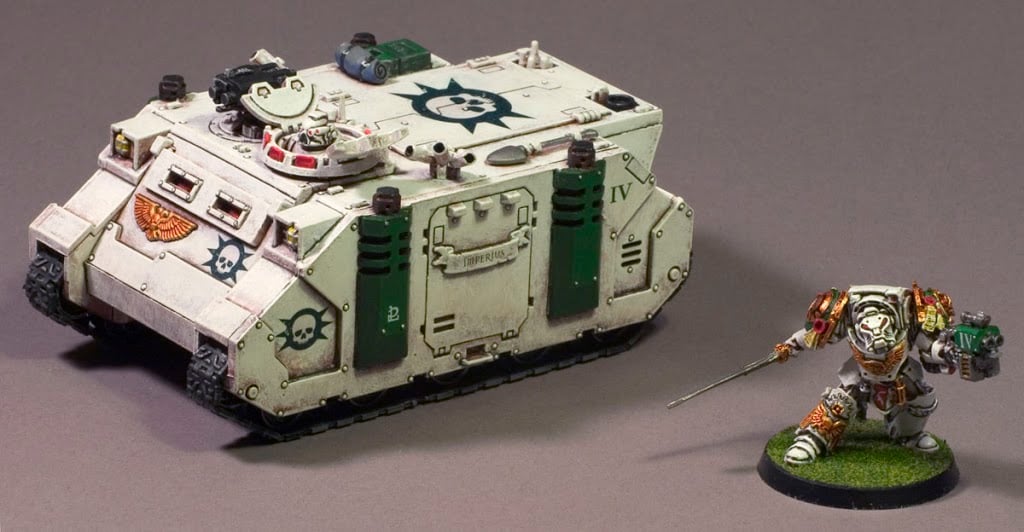
NOTE: This is the paper I used on all of my Death Guard models. The base color of the models are an off white color, so my dark-green custom decals worked like a charm.
White Decal Paper
This paper is Opaque White. It will keep your colorful decals intact regardless of the surface color they are applied to. It is the ideal (and only choice) for dark colored models, or if you have complex and colorful decals that need to go onto a brightly colored surface. Because the paper itself is white, you can use strong white color on your models with this paper. The downside is that you will have to cut out your decals Exactly, as any excess edge you leave will show up as white on your model. Personally, I will cut them out as close as I can get to the logo, leaving a small edge. Then you can go back after the decal is fully dry on your model, and paint right up to the edge with your original surface color to tidy things up. This type of paper works best on regular-shaped logos that do not have complex edges.
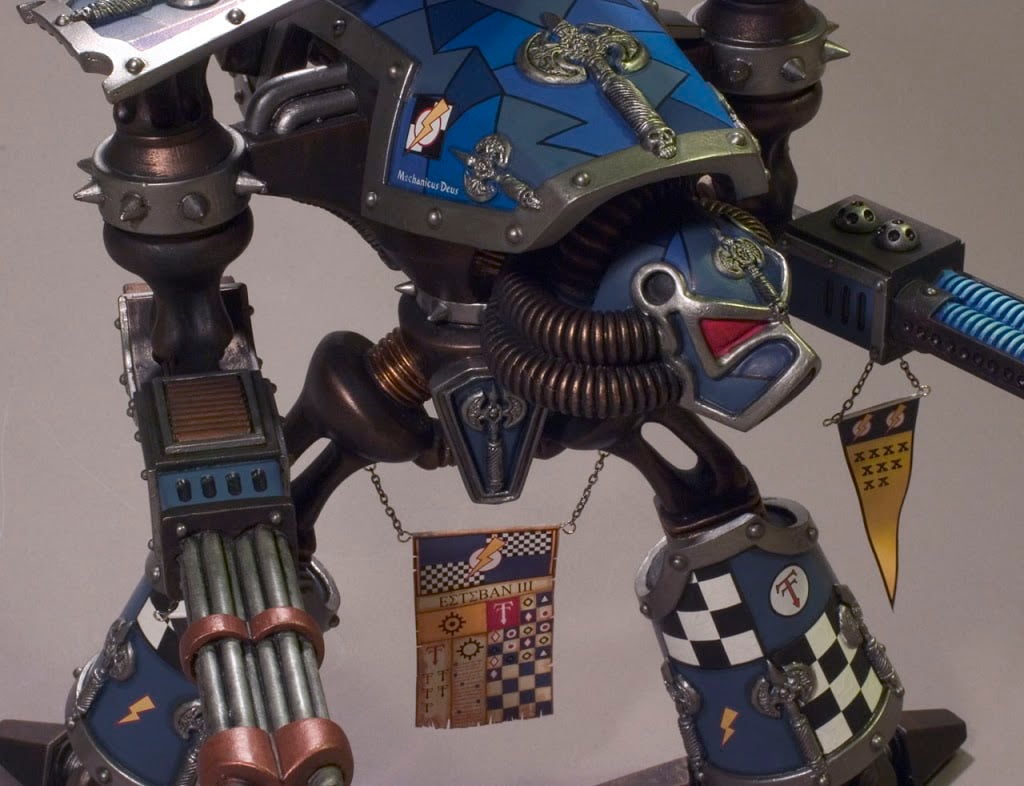
NOTE: This is the paper I used for all the decals used on my retro titans. I needed the opaque white white background to give me punchy decals atop the brightly colored titan’s surfaces (in the above picture, I even used decals for the checkerboard pattern on the titan’s legs).