Warzone: Resurrection Active Construction
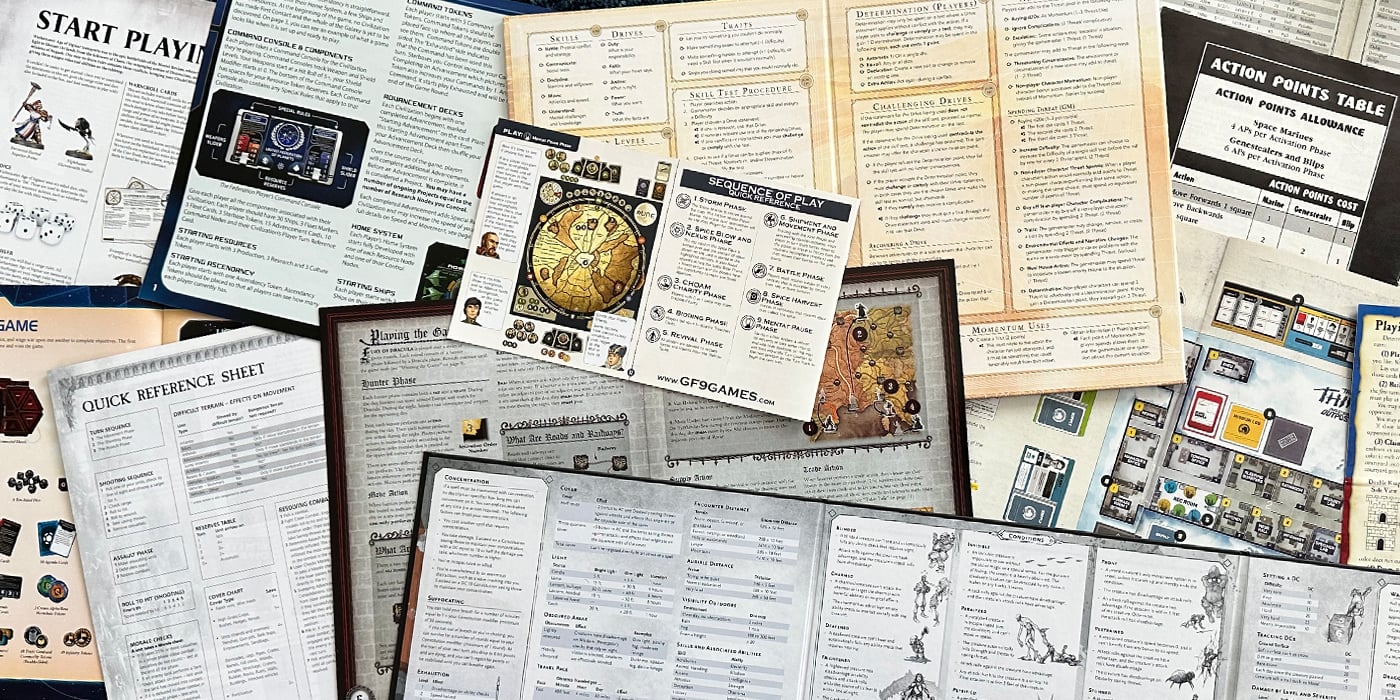

List building, the art of crafting the perfect team for the battlefield, is a huge part of many tabletop wargames – Warzone included.
In some games, your choice of forces will almost decide the game before any dice are rolled. In others, the wrong matchups will make for an uphill battle for some players.
Active Construction
In Warzone, there are a plethora of tactical options available to let players gain the upper hand: skills, activation sequences, cards, resources. These factors will usually balance major differences in lists to a degree, as long as they are applied well by commanders. However, list building should not be viewed as crafting the perfect hammer with which to smash your foes- Warzone isn’t that sort of game, as there are too many tactical options available to players. Instead, it is useful to think of it as a ‘toolbox’ that allows you to deal with a range of different scenarios. In this article, we will discuss how to look at your force and your opponent’s as a set of tools and build your lists accordingly.
Unit types
All units will fill one or more of several battlefield roles. Some units will fill several at once, and some will change in role from one moment to the next. In some cases, a role might only be effective in particular circumstances, like against vehicles or infantry, or only when in CCWR.
- Line: These are your basic troops, but in terms of role they are how you shape your battlefield. As they don’t attract the most attention going around, you can use them to bulk out a force and screen other forces
- Anvil: these are the guys and girls who can take a hit and keep moving. They have excellent protective factors one way or another (camouflage, heal, armour, wounds, special rules, etc), and are there to take the hits that might otherwise be destined for your more vulnerable units.
- Cannon: these units can dish out the firepower at range, but aren’t so good at being on the receiving end. Use them to strike at their favourite targets, but make sure that you keep them in cover and/or defend them with anvil and/or line units.
- Strike: These units can get in close to the enemy and dish out punishment face-to-face. The challenge for them is to close the gap with the enemy and either let loose with flamers/shotguns/etc or engage the enemy and kill them in close combat. They are not necessarily tough, so the term ‘glass hammer’ might also apply here.
- Disruptors: These units are designed to mess with the enemy’s plans, though a combination of special rules, flexible deployment, skills and equipment. They might stun the enemy, pin them, suppress them, cause them to make unintended actions, or simply sit somewhere that their threat causes the enemy to respond to their presence.
- Flankers: These units are all about position. They can get behind the enemy through effective use of speed, stealth, special rules or flexible deployment options. They are usually somewhat fragile and not expected to prevail in an open fight, but can hit and run very well.
As an example of multiple roles for a unit, consider Cybertronic Machinators. They are excellent Disruptors with their ability to Infiltrate, cause stun in close combat and use suppression fire with the SSW4200P. However, with their high A (except against plasma), Camouflage(2) and Thick Armour rule, they make a handy Anvil unit, especially if further enhanced with protective upgrades. They can also function as effective Flankers with their Agility rule, Ranger and M6 (along with Infiltrate).
Unit roles can also change depending on their position and battlefield situation. For example, Brotherhood Valkyries are great Strike units, but once they get into CCWR their Parry ability makes them an effective Anvil unit.
Unit equipment can significantly alter the role that the squad performs. Bauhaus Hussars are generally Line units. However, with a pair of MG-40s they can act as Disruptors, or with two Rocket Launchers they can act as effective Cannons against vehicles.
The Right Sequence
Now that we have looked at the role that your units might be performing, it is also useful to think about when in a turn you might activate them. Clearly, these are general principles and the battlefield situation may cause you to use a unit differently to how they are intended. There are also other general principles, like choosing to activate units that are still threatened by or have an opportunity to damage an unactivated enemy rather than chasing revenge against someone who’s already moved.
- Line: these units are used to bulk out your activations, and therefore they give you a little room to make more important moves later on. Think of it like Chess- you activate your pawns before your more powerful pieces, trying to draw the enemy out and reveal their plan.
- Anvil: these guys can be left in place to take punishment until the end of the turn, if necessary. There are a couple of exceptions to this- if they need to be in a particular position (i.e. between your fragile units and the enemy or else in cover for Camouflage), a particular facing (like Sacred Warriors with their shields), or activate a particular skill (like Tiger Dragons with Flesh into Stone), you will want to activate them first to ensure they can perform their role effectively.
- Cannon: you want to activate this unit immediately once there is an opportunity to shoot effectively. Once they have a good target, you also want to activate them before the enemy has a chance to attack them first. However, where there is no further threat to the Cannon unit and the enemy squad has already been activated, take your time and instead activate another unit that is faced with greater threats. There are two other ways you could use your Cannon unit: placing them on sentry to threaten the enemy’s actions or moving to a better fire position.
- Strike: These guys will want to either be moving forward to engage the enemy or dishing out the damage in CCWR. If they are in range to hit the enemy, activate them first and be prepared to lose them to retaliatory actions. If they are not in range (or waiting to RD), consider activating them towards the end of your turn to prevent the enemy reacting to their movement or imminent attack. Just remember that if you position them well enough, you want to have another unit activate after them to let you activate your Strike unit first next turn.
- Disruptors: Ideally, these guys will need to be activated early in the turn. Most disruption tactics are most effective if they can be applied before the enemy activates their own units.
- Flankers: like Cannon units, these guys are looking for an opportunity to activate and carry out their task. However, the opportunity you’re looking for is the ability to move to another safe area either at the end of this activation or the next. As a result, you’re probably best off activating them late in the turn when you know that most of the enemy are not going to be able to attack them, although if they’re already exposed to attacks you’re best off getting them to safety at the start of the turn.
Assembling the Toolbox
Now that we’ve looked at the different types of units, it’s time to look at building our lists around some of them. I’ll use Capitol as the example here.
Capitol 1000 point list
- Big Bob Watts (76th “Crazy Horses” Aerial Support Battalion)
- 6 Free Marines (DPAT-9 Rocket Launcher)
- 6 Free Marines (DPAT-9 Rocket Launcher)
- 6 Light Infantry
- 5 Light Infantry
- 5 Martian Banshees (Medic)
- 2 Purple Sharks
- Orca
Total: 997
Here, our force consists of a Cannon unit (Big Bob), a pair of Line units (Light Infantry), a Strike unit (Banshees), a Flanker (Sharks), an Anvil/Cannon unit (Orca) and two flexible multirole units (Free Marines) that can be played as Anvil, Cannon, Strike or Disruptor units.
Looking at the force from a sequence of activation perspective, you’ll likely be setting up with the Free Marines infiltrated forward. Both Big Bob and the Banshees will be activated as opportunities to shoot or strike come up, and the Orca and Free Marines can all be left as anvil units unless there’s a great opportunity to fire them at their preferred targets. The Purple Sharks will move when there is an opportunity to gain a better position or hit and run, and the Light Infantry can be used to fill in the gaps in activation. However, this general plan might be modified for players to use a style that suits them, as show below:
For aggressive play: start the turn by getting Big Bob and the Orca to charge into position, then use the Free Marines to open fire on the enemy. After the enemy has reacted to the Marines, drop your Banshees somewhere that they can act as both a Strike and a Disruptor unit- they will die, but next turn you’ll have all your shooters ready to attack. Your Sharks should move to a position to start their attack run next turn.
For cautious play: start with the Sharks, moving towards a flank to see what the enemy will do. Repeat with the Light Infantry until you’re happy to move other units. Advance the Orca to support the Marines while Big Bob moves to a position of support with one of the Light Infantry units. Hold the Banshees for the first turn if the enemy also has RD troops, otherwise drop them onto isolated targets of opportunity.
For defensive play: Start with the Marines, moving them rearward in a Tactical Withdrawal (see CTC issue #1). Follow this with the Orca moving forward and Bob joining the Marines. Move the Sharks to just behind the gunline as a mobile reserve and screen your flanks with the Light Infantry. Hold the Banshees off the table until your forces are well and truly engaged.
Final Thoughts
Hopefully, this article has helped you to think of what your troops are supposed to be doing on the battlefield and helped you to use them more effectively. Perhaps you’re even tempted to look at how you’re building lists to see if you’re missing some tools. Next time you’re playing a game of Warzone, give it a go and try to identify what battlefield role you’re putting your units into. Are there other roles that we haven’t covered here? Is your opponent using their units in a role that isn’t working for them?
This article first appeared in Cartel Tactical Centre magazine, issue #4. Have a look at the CTC Magazine archives here, or get a hold of their latest issue here. Also check out their Facebook Page.
How do you set up your list? Do you identify the roles that your units will play, and if so, what are they?

