Pimpcron: Improving Your 40K Tactics


Pimpcron breaks the norm and gives you lessons on how to play the game – kind of.
Alright, I can’t always be known as the humorous writer on BoLS. Sometimes I have the yearning to preach real, practical strategy to the masses. So sit back and consider yourself enlightened by this helpful knowledge, let’s put the laughs away from just one week. This is serious Pimpcron. I’m even wearing a shirt and socks while typing this, which if you didn’t know, is a rarity.
The Movement Phase
This is the most important phase of your turn, which sets up all of the other actions for your army. Everything in this game has a range, and movement is what either qualifies or disqualifies you from using abilities based on range. Games are won and lost in the movement phase whether you want to admit it or not. Objective capturing, aura abilities, assault ranges, and Smite are just a few times when the distance between you and your opponent is crucial. If you are careful, you’ll be out of the range of Captain’s 12” ability to re-roll 1’s To Wound. Nothing is more bothersome than when you are in the subsequent phases and neglected to properly position your units.
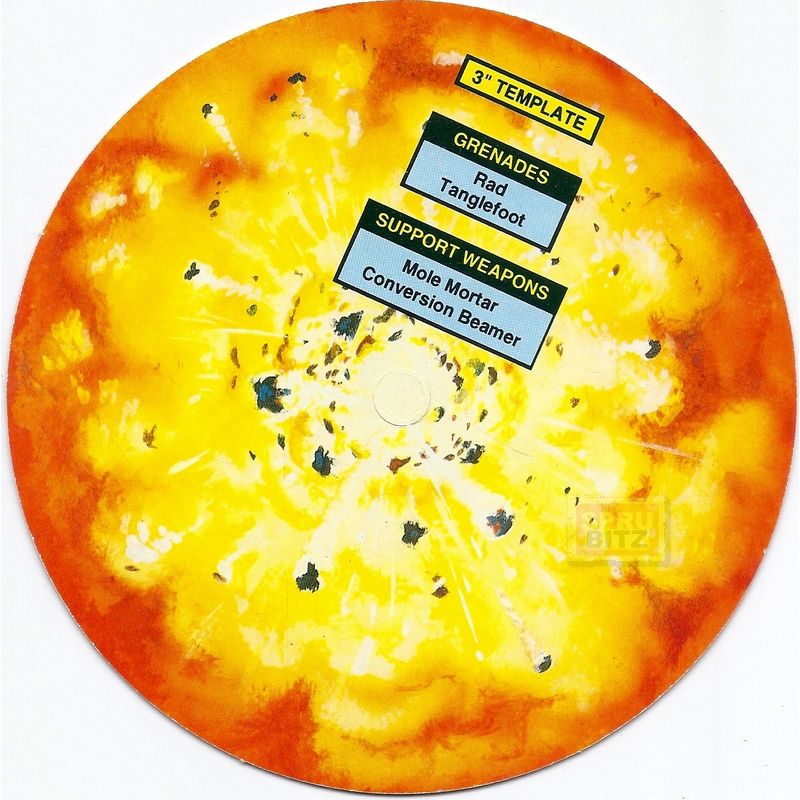
And watch out for these bad boys.
The Psychic Phase
This is a real mixed bag when it comes to value. Some armies such as Orks and Necrons don’t have any Psychic at all, while others like Grey Knights and Thousand Sons excel in it. Psychic powers have a great ability to buff, de-buff, and even move units depending on what you take. Many of these abilities bend the rules in your favor and can create nasty combos.
Everyone knows that Gate of Infinity and Warp Time help a unit become more mobile, while Prescience improves the damage value of ranged weapons. We refer back to the movement phase to make sure that the unit you wanted to Smite is the closest to you in the Psychic phase. All in all, it isn’t a bad idea to take a Psyker or so to help put the game in your favor, but it isn’t a necessity unless your army is designed around it.
The Shooting Phase
This phase is arguably where most of 40k is played, due to its focus on ranged attacks. While not all armies attack in melee, all of them shoot in the shooting phase. A good strategy to do is to decide which unit is the most important and focus fire on it until it is dead. This sounds like a no-brainer, but a lot of people spread their shooting around when they shouldn’t and end up with some damaged but still functional enemy units. A dead unit is better than 3 damaged units, unless you have done enough damage to them to cause morale tests (see below).
“Throw your hands in the air, shake your derriere.”
It is important to keep high leadership-characters near your shooting units, so that they don’t have to shoot the closest enemy unit. You can use a character’s leadership as your own if the shooting unit is within 6”, as stated in the main rulebook. Another important tip is to make sure you take advantage of the rule where any unit that is in melee can only shoot units within 1” of them. All armies have access to the 1 CP stratagem that allows them to retreat a unit and still shoot, so that could also be helpful to use.
The Charge and Combat Phases
I am lumping these together because they go so hand-in-hand. Keep in mind that you don’t have to end your charge in base-to-base with the enemy to successfully charge, as long as you end up within 2 inches of them. A lot of people don’t get that, but it is a lifesaver. Unfortunately, you have to take models from the front of units when they take casualties, so you have to keep that in mind during the enemies’ Overwatch.
When you finally get into melee, you’ll of course have to roll for initiative for each model in both units, and make a list of who strikes at which time. It’s important that your special weapons up front because they get +2 to their initiative roll if they end in base-to-base contact. But if you don’t get a chance to do that, you can always wait until next turn after consolidation. Another good point is that I have found a cheat during this point in the game. If you hit Pause, then go Options, go all the way down to the bottom of the Gameplay tab and type in Up, Up, Down, Down, Left, Right, Left, Right, A, B, A, B, Select, Start and you will get all of your models to auto-win the Initiative roll.
“This is some good advice, better write it down.”
Morale Phase
If you have fewer than 3 cards in your hand by the end of the game turn, you’ll be forced to take Battle Shock which means losing D3 Command Points. You can get around this by playing a Draw 4 on your opponent and selling your highest valued property if he has at least 4 units of the field. You can also avoid the Battleshock losses by having your Queen within 2 squares, where she will cause them to auto rally and your battleship won’t be sunk. If no player has any artifacts in play or Trainer cards in their hand then you will be forced to take a straight 3 Command Point loss. If you play your cards right, you can avoid all of this, but then again that is the difference between good and poor players.
Confession
Okay, I’m known for Warhammer articles, but honestly I haven’t played a game since 4th edition so I hope my information isn’t too outdated. See? I can be serious sometimes.
Be Honest, How Many Times Has a Skip Turn Card Caused Your Shooting To Miss?

We’re on Podbean, Stitcher, iTunes, Spotify and others!
Pimpcron’s Warhammer Convention
![]()
Or contact me at [email protected] for the latest rules if you don’t do the Facebooks.


