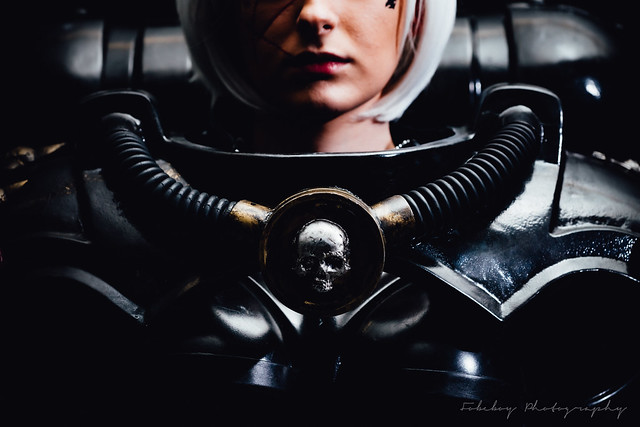
40K Cosplay: Armor Creation for the Sisters of Battle Squad Pt 2


Today we’re diving deeper into the world of the fabulous Sisters of Battle Cosplay Group by Shawn Thorsson. Get a peek behind the armor as we look closer at how this massive undertaking was accomplished!
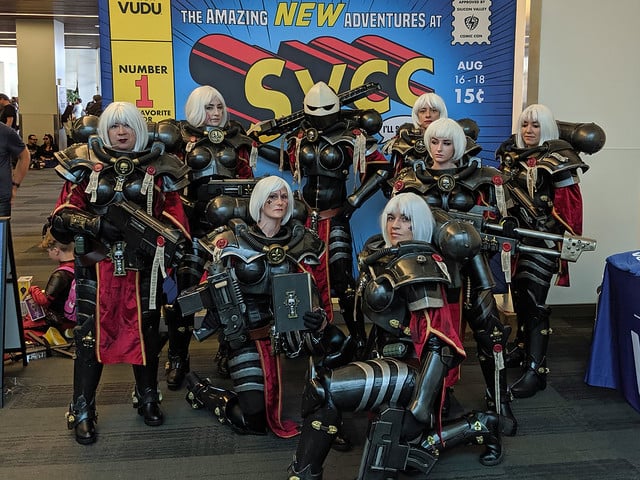
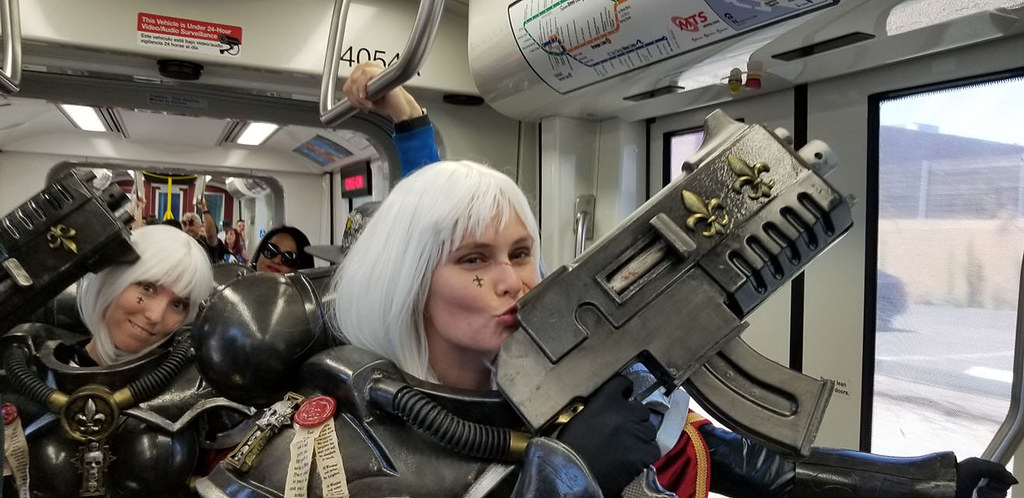
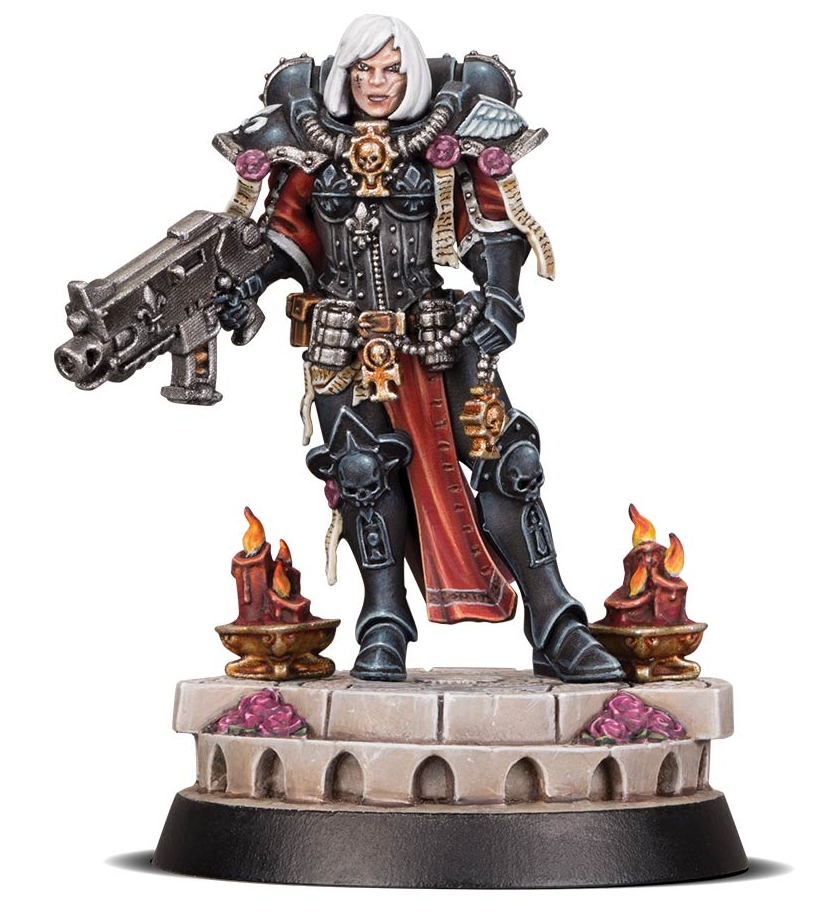
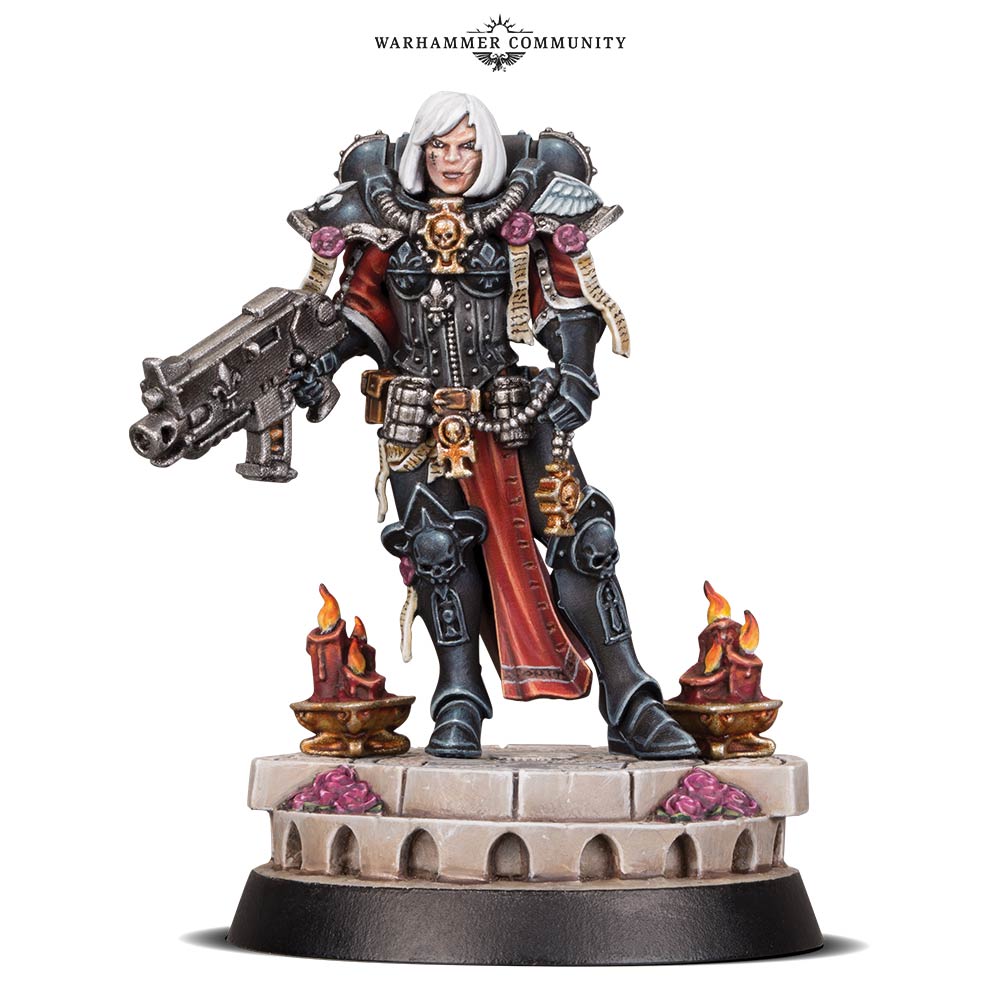
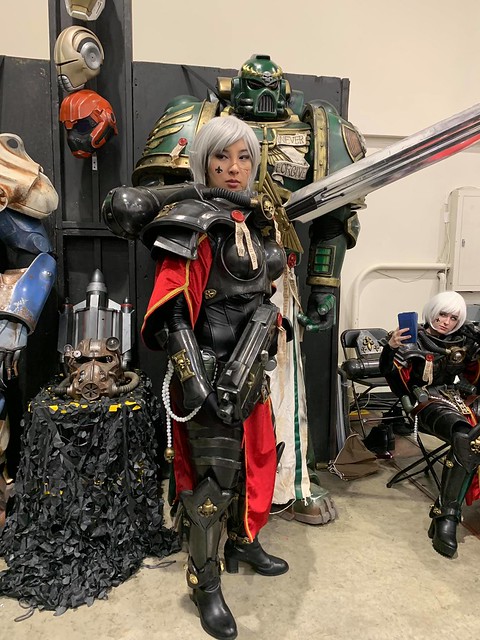
Back in September we got our first look at the Sisters of Battle Squad, which anybody who has ANY loyalty to the Emperor has been fawning over for months. (If not, SHAME ON YOU HERETICS). We’ve seen them out on the town, traversing the Cons, dropping in on public events, leaving no stone unturned in their search to route out the Heretics in the name of the great Emperor of Mankind. This month, we’ll discovering how these fantastic cosplays were forged, in the words of creator Shawn Thorsson.
The Cosplay’s Inspiration
“Back in March and April I spent a few weeks of quality time in Malaysia on behalf of the US Navy. While I was there, I had a lot of time to contemplate my preparations for the Bay Area Maker Faire. This would be my eighth time setting up an exhibit and, as usual, I wanted to unveil something new as a part of my display.
Given that I didn’t have anything particular driving me toward a deadline this year, I decided to pull out something from my bucket list for this year’s Maker Faire debut. It’s a really long list, so this is usually a pretty tough decision. This year’s winner: the Sisters of Battle, also known as the Adepta Sororitas.”
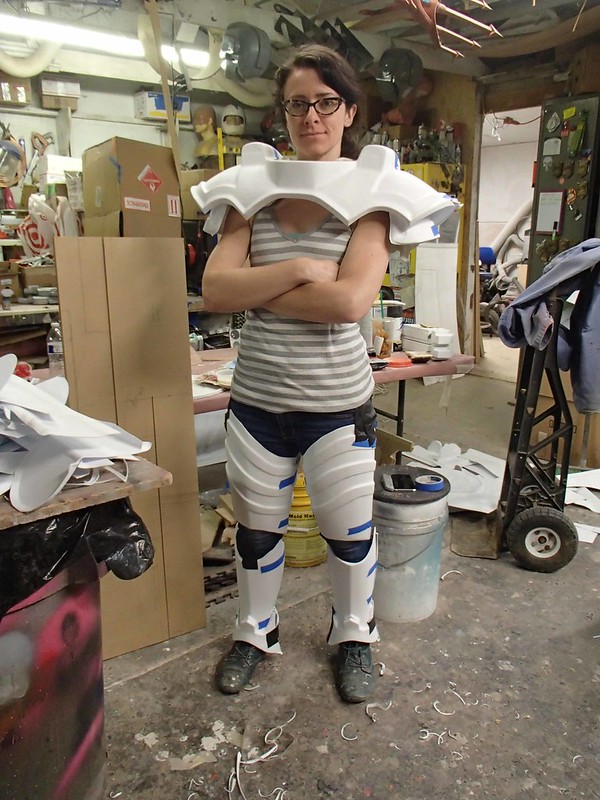
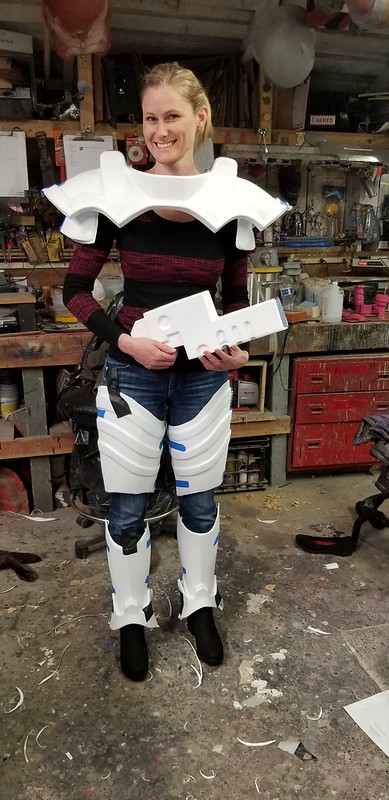
 The Leg Armor
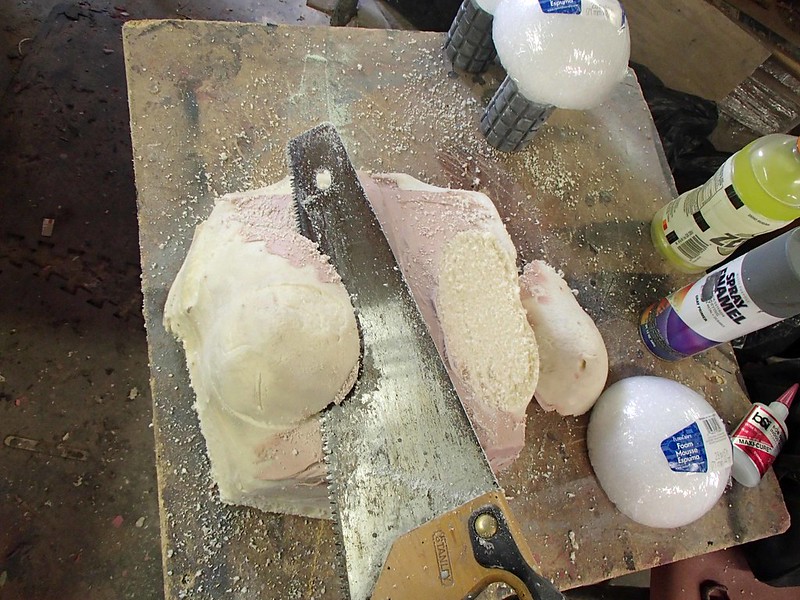
“I started out with an imperfect pair of fiberglass thighs from my Captain Phasma armor project and some Bondo. The thighs were trimmed down a bit, seam lines were rearranged, and ridges were added like so:
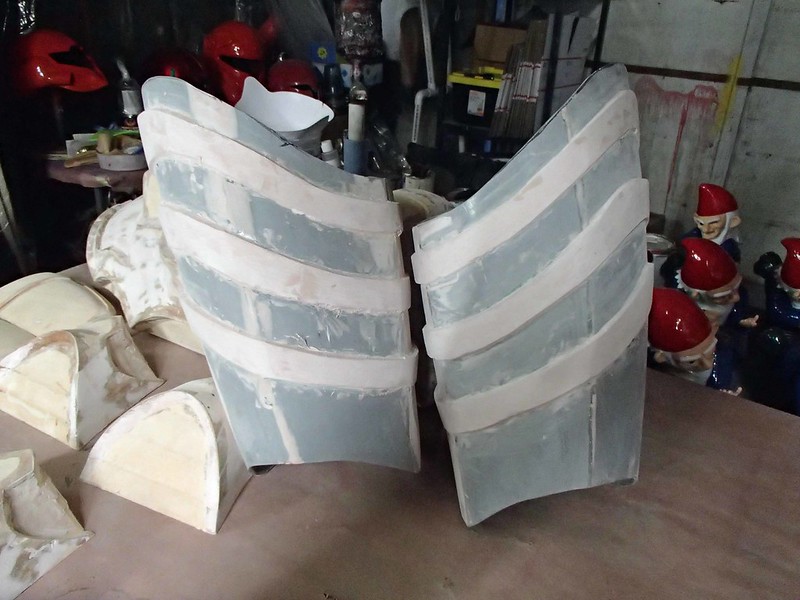
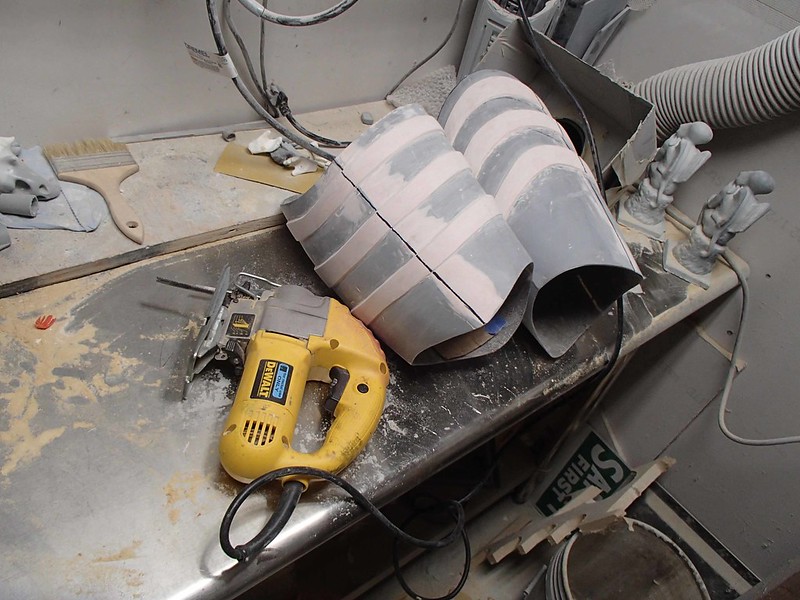
Then the thighs were cut apart to make front and back halves:
The lower legs were slightly modified Phasma parts with some 3D printed trim added to the ankles:

The first pull of the leg parts seemed to work out just fine on Rachel:
The Lady Shawnon stopped by the shop for a bit, so we had her try the parts on as well:
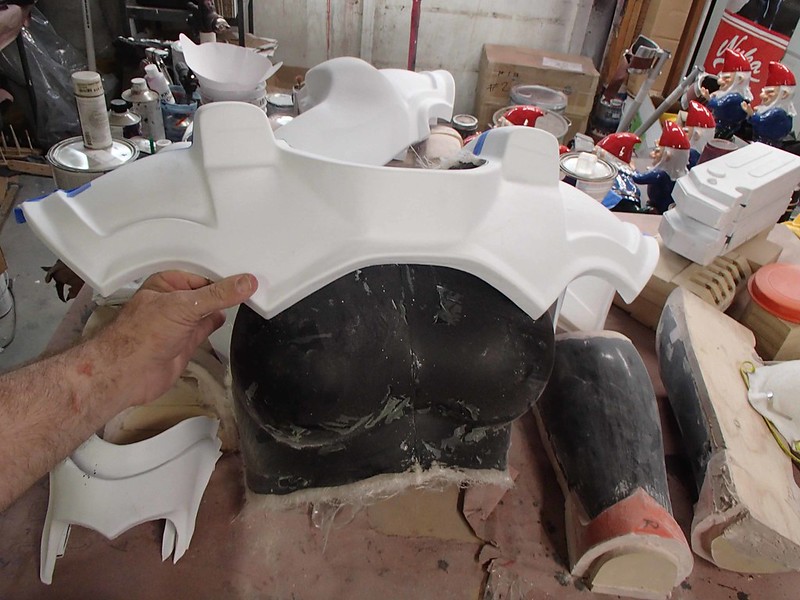
Chest Armor
It’s not exactly something I’m doing on purpose, but for some reason each time I make a female costume I end up making them with slightly bigger boobs than the previous one. It started with the Warhammer 40,000 Commissar that I made a few years ago. I modified the chest plate from that build to make the Goddess Thor and ended up adding a bit of mass to the boobs in the process. Then I used a copy of the Thor chestplate to make the Cobra Baroness chest armor, adding even more boob along the way.
In keeping with that pattern, I decided to test fit a copy of the Baroness chest armor to see if it would work:
Nope.
While the proportions were essentially right, the Baroness chest would need an awful lot of modification to turn it into the Sororitas armor and wouldn’t really work out well as a vacforming buck because the side-boob would cause the vacformed plastic to lock onto the form.
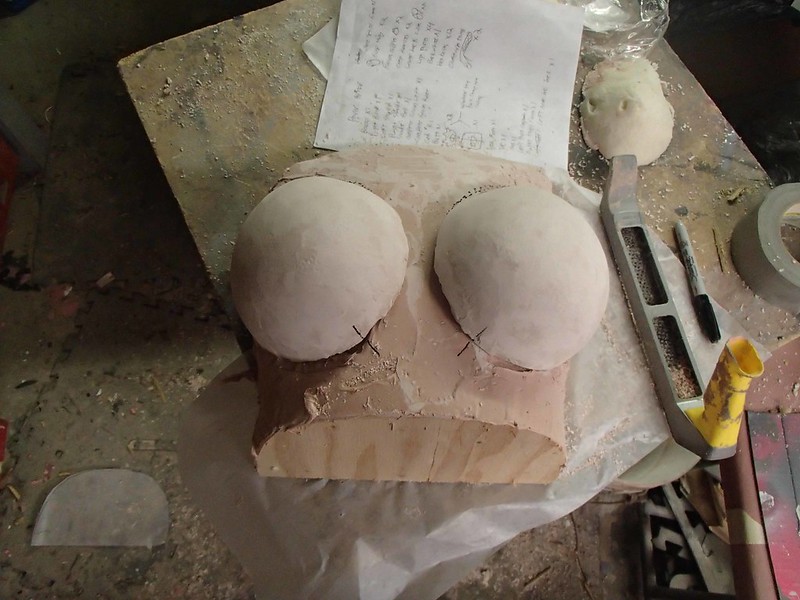
Instead, I dusted off an old vacform pull from a mannequin that’s been stapled to the ceiling in the shop for the past few years:

The hollow plastic shell was filled with X-30 expanding foam:

Since the mannequin was slightly smaller than any healthy adult woman is likely to be, I decided to split the chest down the middle:

An MDF slice was added in to reinforce the middle and add 3/4″ to the width. Then I gooped the whole thing back together with some Bondo. Once it was all one piece, I sawed the mannequin boobs off:
These were replaced with some foam hemispheres from the local craft store, covered over with a layer of Bondo to add a bit of egg-shape to the top edge and make the surface smooth and strong:
Since the position of the plastic sideboob would cause the plastic to lock onto the mold, I decided it would be easier to form the chest plate and the cups as separate parts. Here’s the first set on the vacforming table:

Once everything was trimmed, the cups were glued into the chest plates from behind. Here’s a closeup shot of one of the chest assemblies:
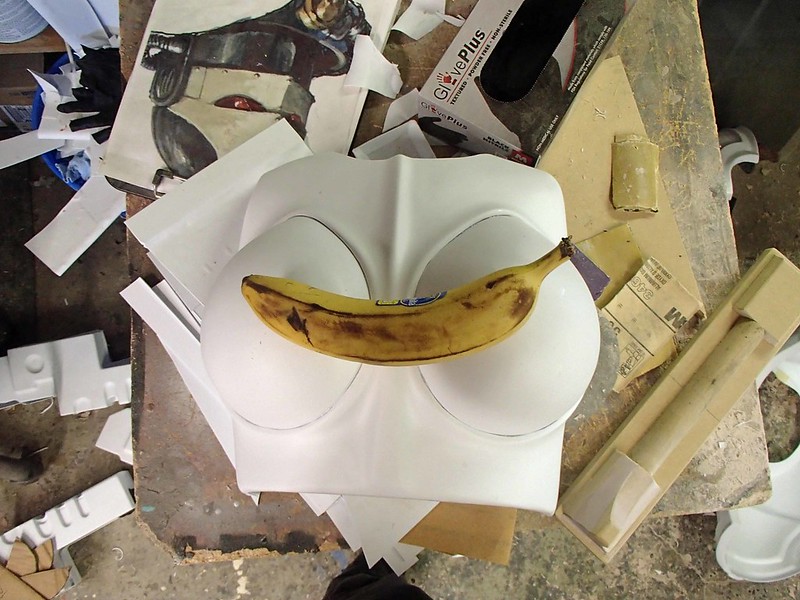
Banana for scale.
In order to differentiate each suit that we made, each chest was given additional trim pieces. This one has vertical strips of styrene being solvent-welded into place:

The silver discs are rare-earth magnets used to clamp the plastic together while the bond sets up. I don’t have any regular clamps that will reach this deep across the plastic parts, so the magnets are a great solution.
More about Shawn Thorsson
He wrote a book! Get yours here: LINK
Sometimes he also has stuff for sale on Etsy.
~Join us next week for more Cosplay Coverage~
Have a Cosplay question you would like Mayhem’s Muse to answer? Know a Cosplayer you’d like to see featured? Send an email here!
Learn more about Mayhem’s Muse